One-Time Pre-Sale Offer + 2 Free Design Books
There are 24 Hours left in our 50% Off sale of the 10-Week Set Design Fundamentals Course.
In addition to half-price off on the course, if you sign up before the October 31 deadline, you’ll get two free design Ebooks:
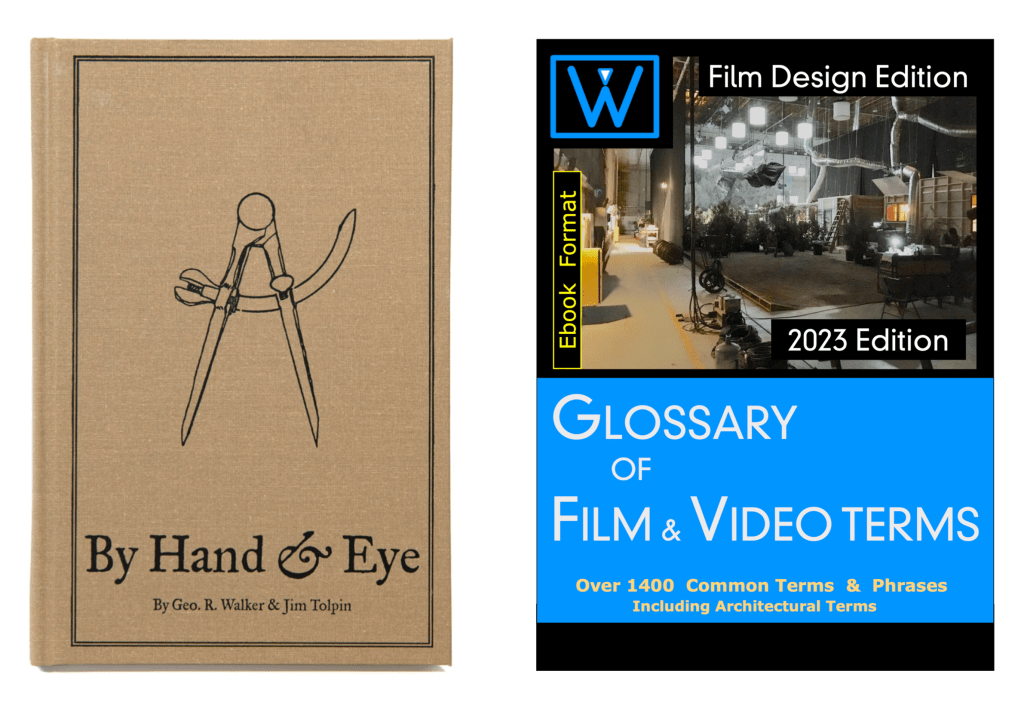
This is one of the design books on my Top Ten list. Authors Jim Tolpin and George R. Walker examine the role of proportion in design from ancient times to the present. While the emphasis is on furniture design, they show how much of the world is governed by simple proportions, noting how ratios such as 1:2; 3:5 and 4:5 were ubiquitous in the designs of pre-industrial artisans.
This is not a recipe book but a guide to a new way of looking at design through the eyes of centuries of artists.
Published by Lost Arts Press, this is just one of a whole line of fantastic books on design and hand woodworking that they offer.
You’ll receive a link after you purchase the course to download the PDF.
Wrand Glossary of Film & Video Terms
This new first edition is the only one of it’s kind; a film glossary created for film designers. Whether you are a novice or an industry professional, you’ll find useful information in this book that doesn’t exist in any other film glossary,. As well as nearly 1500 up-to-date terms on production, cameras, crew positions, post-production, legal aspects, stage equipment, and industry slang, there are hundreds of entries on architecture, hardware, set construction, and more.
The 2023 Ebook is due to be available in mid-December. Series purchasers will be the first to get the book when in becomes available and will receive a download link.
The 10-Week Course Description

This is the only time the series will be offered at this price and it will return to the normal price when the series begins on October 31.
This self-paced online series covers the fundamental skills that a Set Designer in the feature film and television industry here in Los Angeles are expected to have.
This is similar in difficulty to a one-semester graduate-level program at a university, but much of the material presented here is not covered at most colleges and is normally only available at the professional level. I’ve been developing this series for several years, basing it on classes I teach at the Art Directors Guild in Los Angeles.
Here is an outline of the material that will be covered in the series:
Week 1 – The Basics
Standard drafting conventions and symbols for set construction drawings. Set construction: typical flat construction techniques and variations.
Week 2 – Cameras & Optics
Understanding basic camera and lens terms: aspect ratios, focal length, depth of field, sensor sizes, exposure, stage lighting, using camera angle templates.
Scaling from photographs and artwork: calculating dimensions, understanding picture perspective and allowing for lens distortion.
Week 3 – Analyzing the Script / Reference Materials
How to break down a script for set design; using storyboards; techniques for estimating drawing time schedules.
References: using online, printed, and survey photo references; building a reference library on a budget.
Week 4 – Working Drawings
Step-by-step directions on creating proper construction drawings: plans and elevations; details, full-size details, and digital cut files; reflected ceilings and furniture plans; stage spotting plans, and director’s plans.
Week 5 – Door & Window Details
Diagrams and explanations of door and window construction and various adaptations for stage sets; creating accurate-looking period reconstructions; understanding, using, and sourcing hardware.
Week 6 – Stairways
The fundamentals of stair design: types of stairs, stair construction, how the choice of stair type affects design, and designing elliptical stairs.
Week 7 – Mouldings & Staff Elements
Understanding and using the Classical Orders of architecture; the proportions of mouldings based on style type; using a moulding catalog and creating built-up moulds.
Using plaster staff and compo elements in a set; designing with brick skins and textured surfaces.
Week 8 – Backings, Special Effects, & Visual Effects
Using painted and photo backings: The advantages and drawbacks of various types; creating custom backings; how to calculate correct placement distance from the set.
Special effects considerations: replicating fire, water, and wind effects; understanding legal requirements for special effects work on a sound stage; dealing with practical fireplaces.
Visual effects work: shooting with green or blue screens; using LED walls or volumes.
Week 9 – Backlots & Location Surveys
Shooting on studio backlots; shooting on location; proper surveying techniques; assembling a personal survey tool kit.
Week 10 – Physical Models
The advantages of physical study models; determining model scales; various model types and construction techniques.
Class Materials & Videos
Each week there will be tools, charts, and reference material to download as well as video instruction to help you do the exercises and create your portfolio drawings.
Along with the classes, you’ll have access to a private chat area that is only available to students of the series and alumnae who have taken courses previously. Here you’ll be able to meet other designers, discuss class material, get advice on your career, and exchange ideas and experiences from both the classes and real-world entertainment jobs.
Prerequisites:
– You must know how to draft. Drafting ability is essential to effectively completing the course and ending up with a set of professional quality working drawings. I’ll be offering a course on drafting later in 2022 to fulfill this prerequisite.
– Be familiar with CAD software – You are free to use any CAD software you are familiar with. Using software that you are still learning may make the lessons more challenging than you can handle. There is no standard drawing software in the entertainment industry as far as the Art Department is concerned. There are preferences among certain designers but one aspect of the job is a need to create files that can be used by many different other programs. 3D modeling won’t be required for any of the class projects but feel free to work that way if that is part of your usual design process.
There is a 14-day money-back guarantee from the time you begin the series if you change your mind. If you’re unsure about whether the series is right for you, you can schedule a free 15-minute discovery call to talk with me and I’ll be happy to answer any questions you might have.
Sign up for the course and learn more here.