“Every scene you will ever act begins in the middle. . . .” Michael Shurtleff
The casting director Michael Shurtleff wrote a book called “Audition”, which is a kind of roadmap for actors to use when preparing to try out for a part for a film or theatrical play. It lays out the basics of determining the psychological elements of a scene, even if the actor has only been given a single page from the script.
(An aside: if you really want to understand script breakdown, take an acting class. It will give you a new appreciation of actors too. Do that one better and go out for an audition, and then imagine doing that a dozen times a week for the rest of your career.)
One of the Guideposts in the book is titled, The Moment Before. Shurtleff explains that a scene always starts the middle of a situation. It’s the actors job to figure out what events came before, because a lot of times that information isn’t in the script. A general outline might be there but the small details are missing.
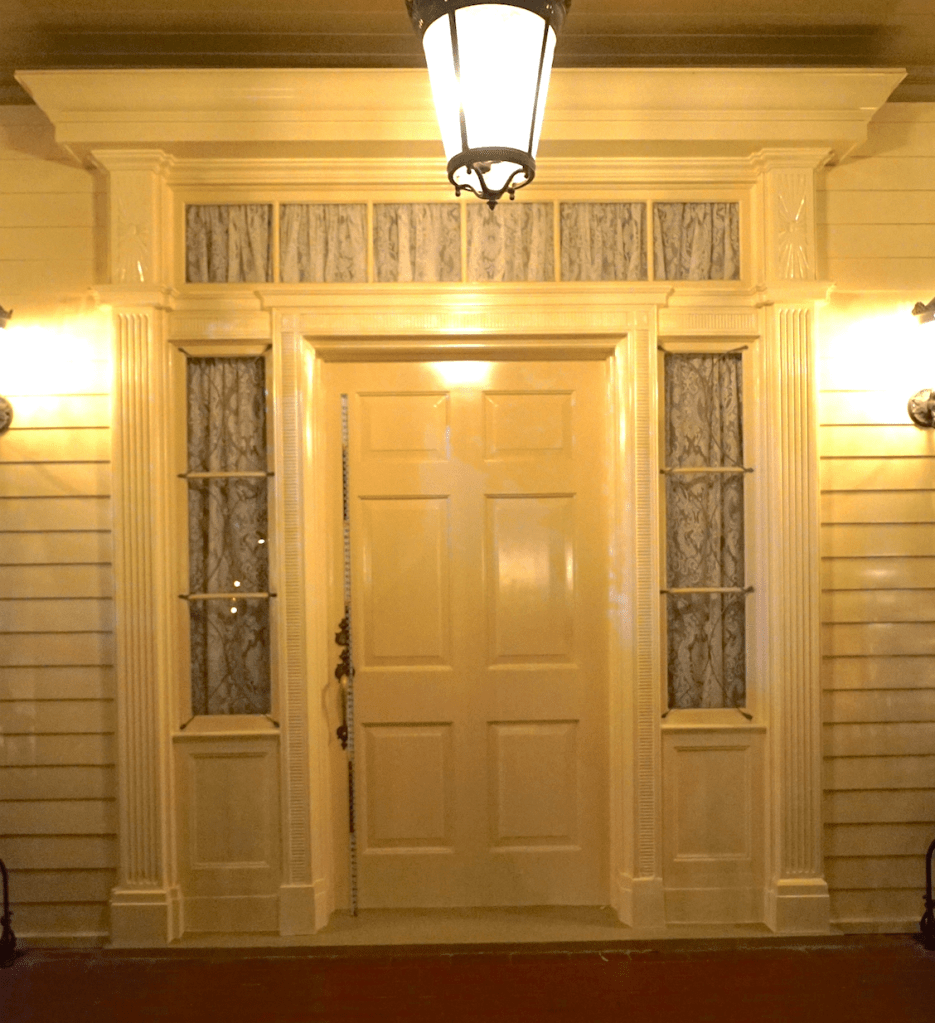
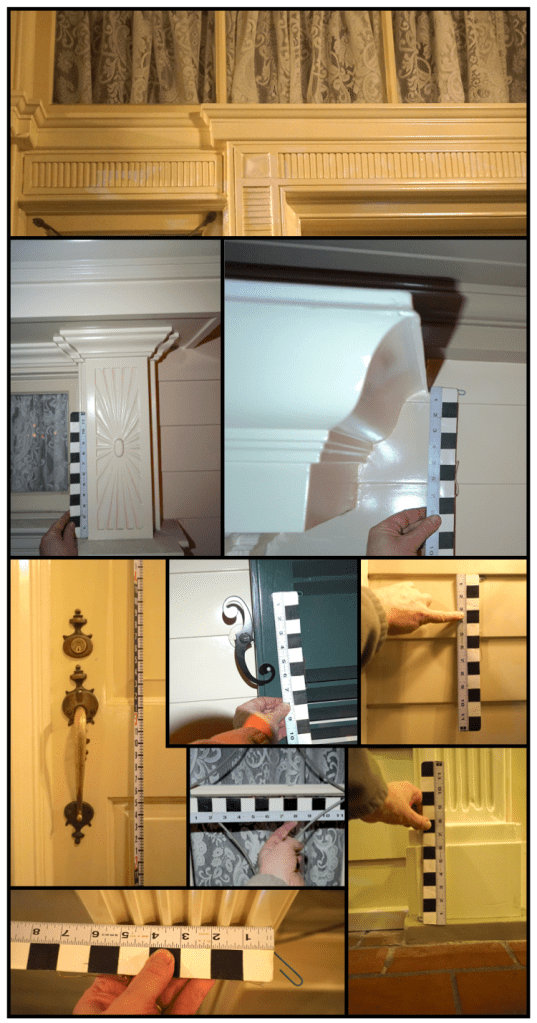
With films, a lot of the ‘personality’ of a set is the work of the Set Decorator. They give life to the structure of the scenery, and it’s a big reason why they share Oscar and Emmy awards with the Production Designer.
But you can only put so much lipstick and mascara on a goat, and if the sets ‘bones’ aren’t great, something big will be missing.
What does your set say about itself once the construction and paint crews are finished, before the set decoration crew even starts?
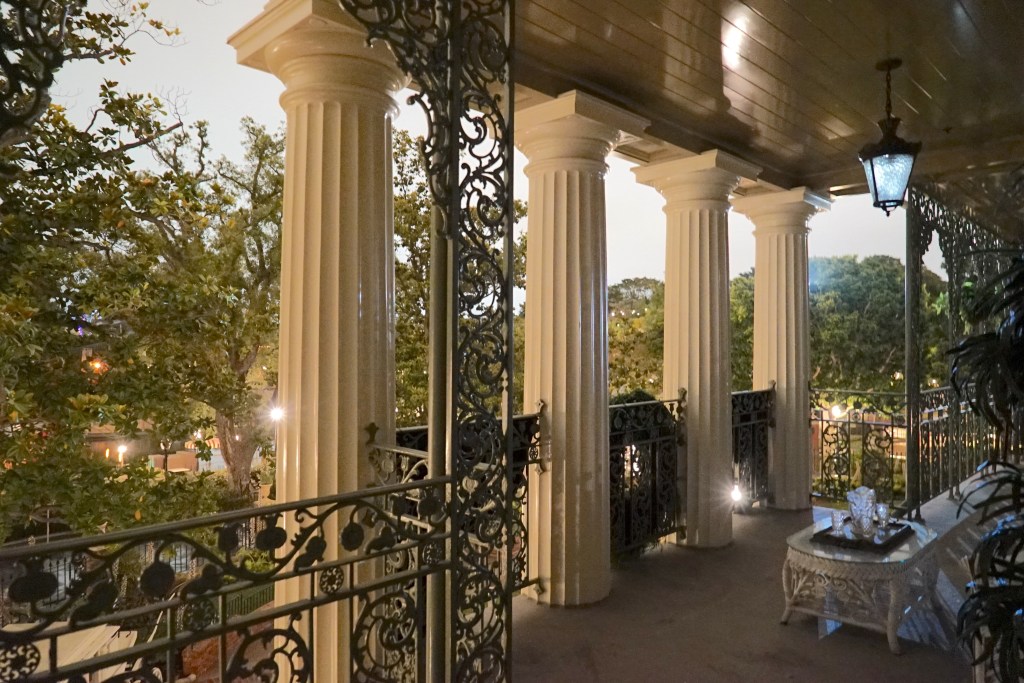
What happened in this room a week ago? A year ago? Twenty years ago? Was the house built before the development of modern plumbing? Do the mouldings indicate that it was built before electric power was available, and the “new” type of special moulding now hides the wires that snake along the baseboard and up corners of the room?
Once the set is dressed and filmed, are there elements that will stand out or tell a story about the “envelope” beyond the dressing?
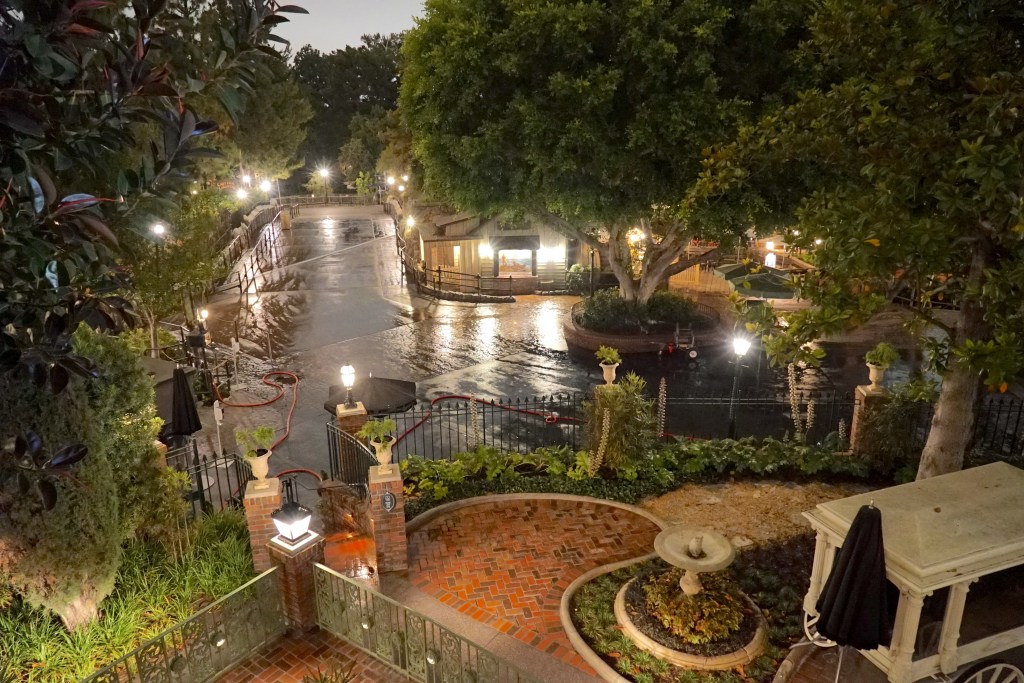
When I look at empty houses I always look for the signs of past human lifetimes. Most buildings will survive 4 or more owners, or generations. They all have their scars from surviving their inhabitants; the bad remodels and additions that don’t match, bad repair jobs or damage that was never repaired.
I got to tour a historic house from the 1830’s that was built in the Greek Revival style and was shocked when I saw the front parlor room. The second owners wife was tired of the classical design and had the room renovated in the then-current 1890’s late Victorian “Eastlake” style. The contrast couldn’t have been more odd if they had redone the room in a Mid-Century Modern style.
The historical society who owned the house decided that the Victorian remodel of the room was part of the history of the building and voted to not return the room to its original configuration. It may have not been ‘true’ to the origins of the house but it defined the ‘human experience’ that the home had gone through. It was some of the ‘finger prints’ that its inhabitants had left behind.
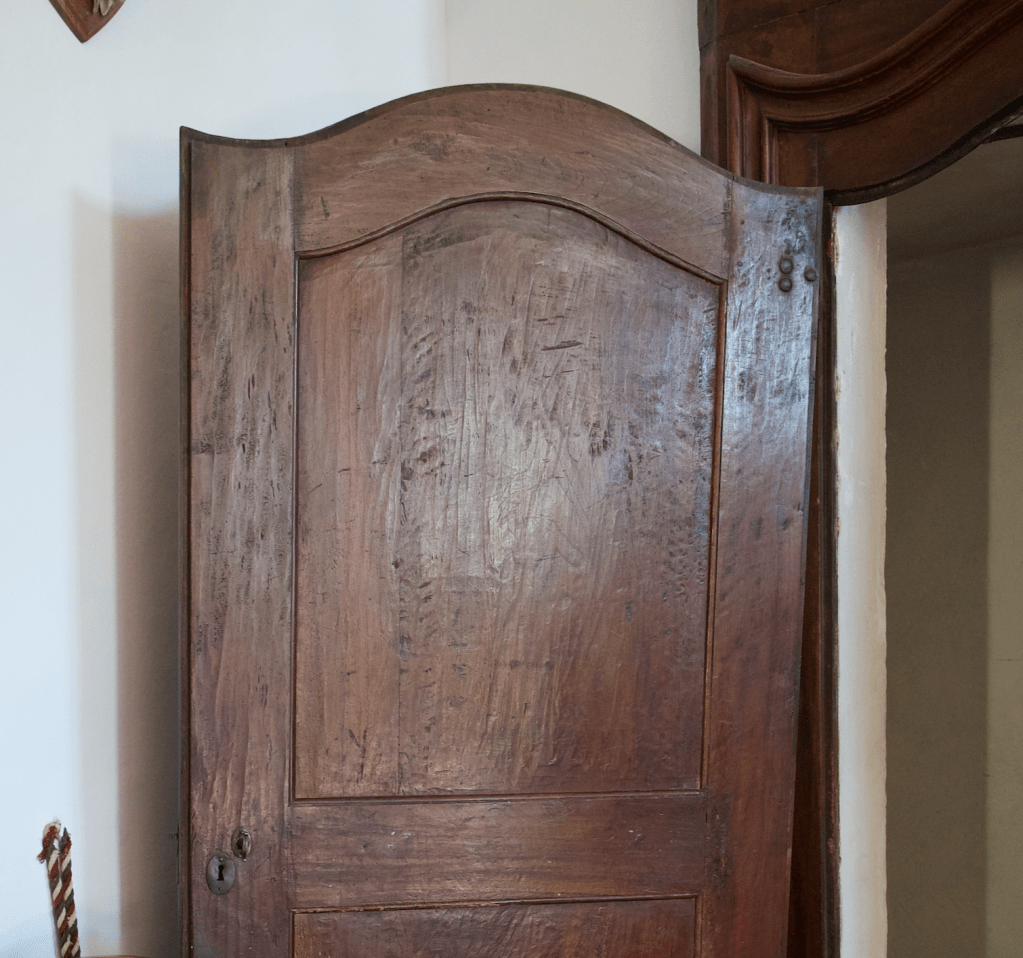
This is a photo of a door in a friends families 900 year old Castello in Northern Italy. I wondered about the deep gouges in the upper panel and they told me that they were a remnant from several hundred years before during a hasty removal of a carved crest that hinted at support of a then out-of-favor monarch.
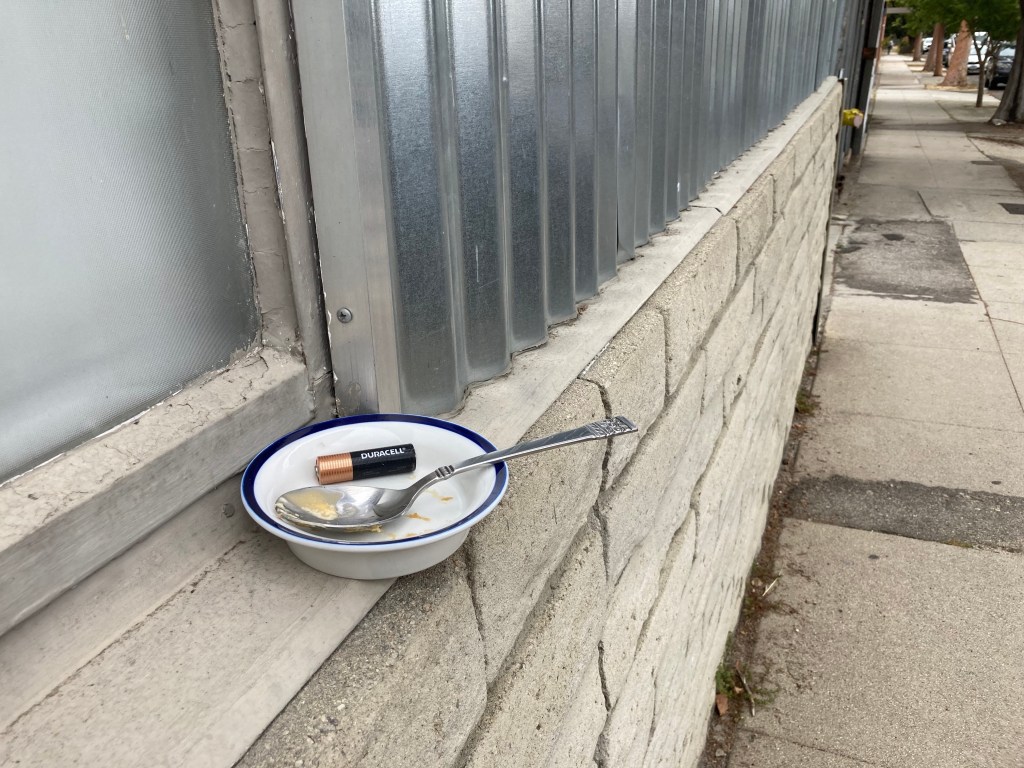
The details of a set don’t have to be that subtle. It could be a bricked up window, a stairway in an odd but obviously not original location. or maybe the wallpaper in a room is torn in one corner, revealing three other layers behind it, or there are scorch marks on the wooden kitchen floor in front of the stove where a red hot cast iron skillet was dropped.
The ‘character’ can certainly come from the paint and age that the scenics apply and sometimes there is even more you can add. One person told me about arriving on a stage set one day for a shoot in a period kitchen set to find the Production Designer Dean Tavolaris bending over the tile counter with a one pound can of Crisco shortening, rubbing handfuls of the stuff in the corners and between the sink and stove.
Actors will often create past stories of their characters for themselves to help them flesh out the role that will give them personal emotional substance to draw on for their portrayal. This is information just for themselves and a lot of times they don’t feel the need to share it with anyone else, but it gives their performance extra ‘bones’.
As a designer you can do the same with a set. You can create the environment’s past lives that may have nothing to do with the story in the script but it will give it a reality that will make it feel like it hasn’t just materialized suddenly out of thin air, which, as scenery, it pretty much has. We think of spacecraft as modern, sterile environments that don’t have much character. Star Wars changed all that with some spacecraft that were past their expiration date and bore the marks of abuse and mechanical failure. It made them more lifelike and less like machines.
Whether you share that ‘history’ with anyone else is entirely up to you, but if you can tie it into the story or at least make it an interesting part of the design, it can help you sell your ideas to a director who will most likely appreciate that you are bringing a depth to the film that they hadn’t thought about.
That work will come from really analyzing the script, and there isn’t always a lot of time to do that. But, you can learn shortcuts, and that’s a whole other blog article.
For starters, I suggest these: Audition, by Michael Shurtleff, and the chapter on script analysis in Directing Actors, the first book from my absolutely favorite directing teacher, Judith Weston.