When recreating a period set from the 1800’s in particular, it’s difficult to really replicate the designs of the period because current wood moulding and millwork don’t allow for what was a common practice by designers and architects; true proportional design.
A moulding catalogue of today looks very different from the original moulding catalogues of the 1800’s. Not only because they contained a larger variety of profiles, but there was a large selection of different sizes for almost every profile that they offered.
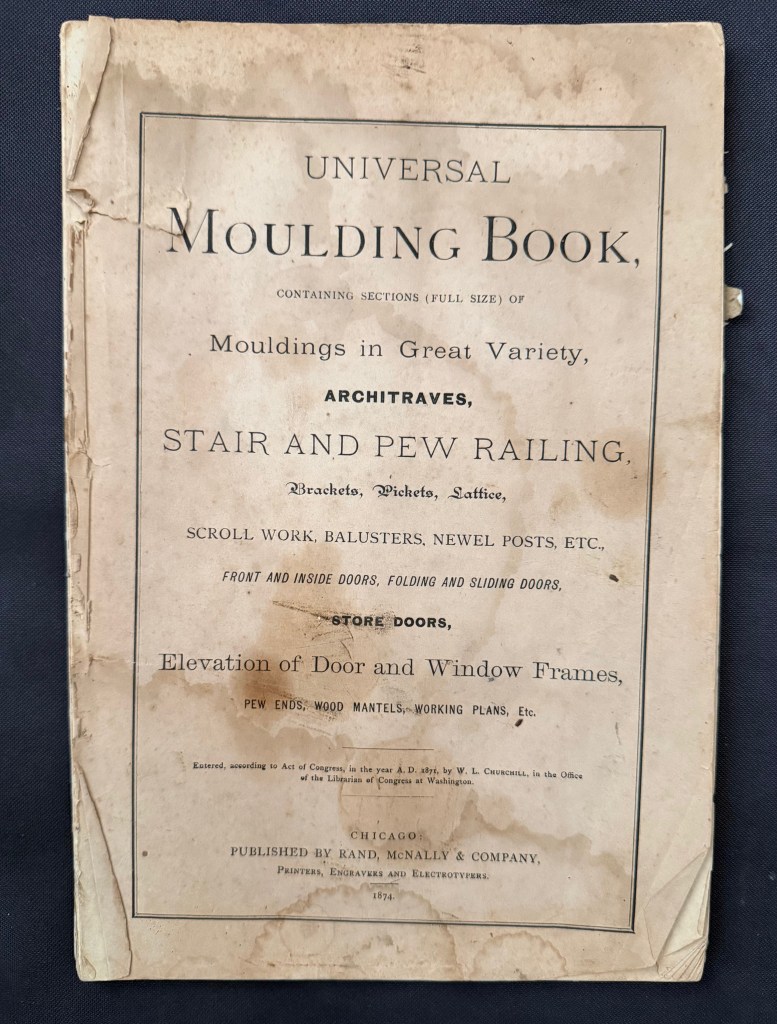
The oldest moulding catalogue that I own is the Universal Moulding Book from 1874. This catalogue shows over 650 moulding profiles in full size. It isn’t the first version. I know this because the catalogue states that 46 profiles have been phased out from a previous catalogue.
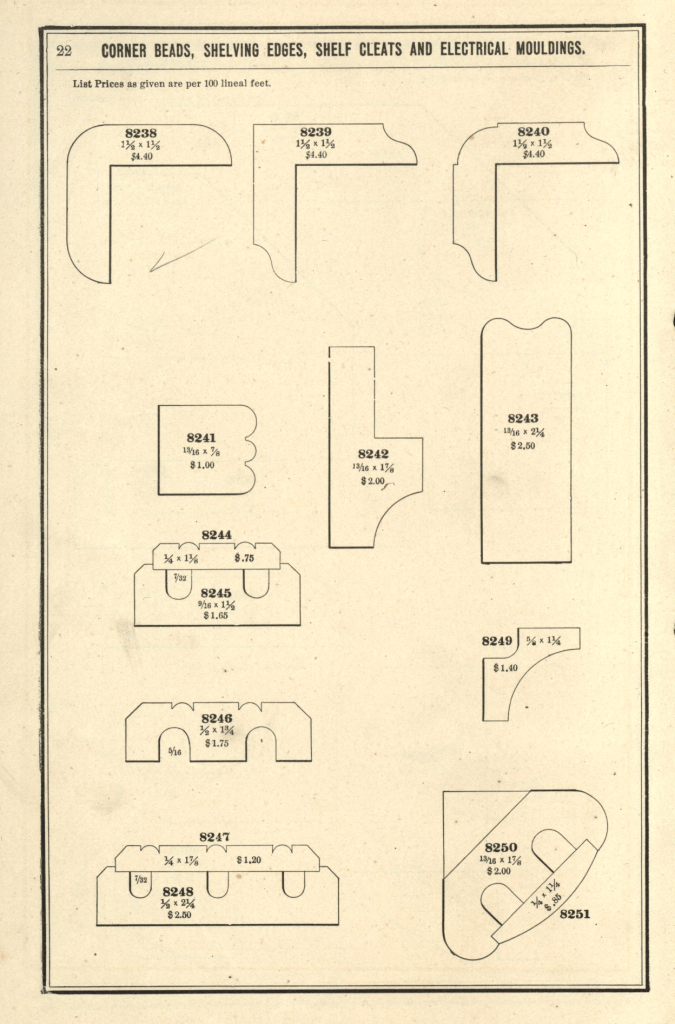
Here is a page of a profile known as a Quirked Greek Ogee and Bevel, a popular profile in the mid 19th century. Notice that there are 17 different sizes.
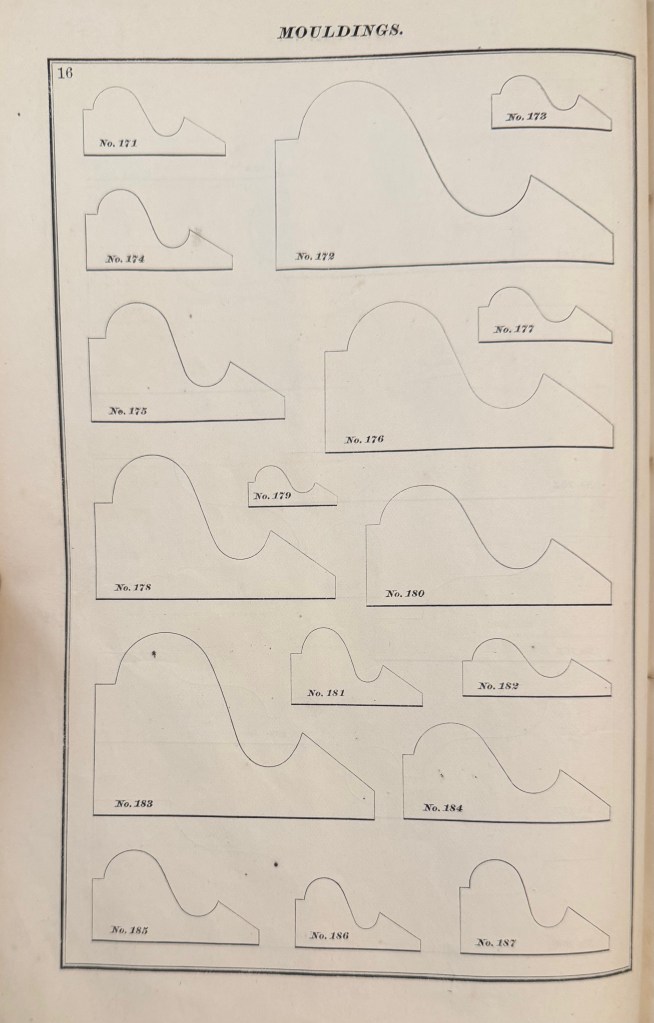
Why so many sizes?
Originally moulding or architectural enrichment wasn’t an afterthought. The mouldings were designed to be used in proportion to the openings that they surrounded.
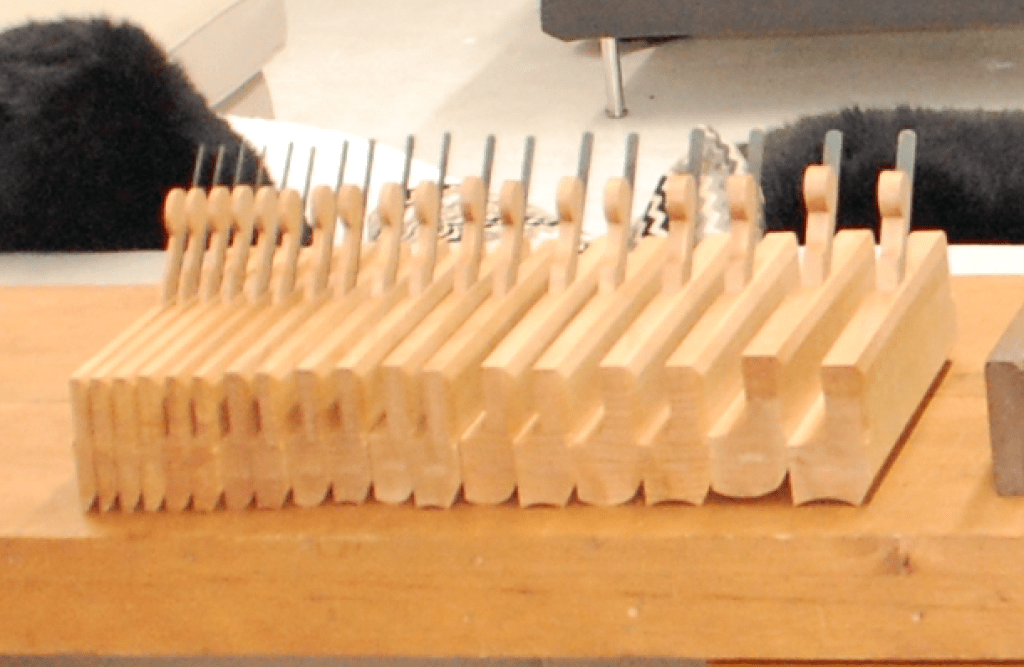
In America, and England, before the Industrial Revolution, wood mouldings were made by hand. (plaster ornament was as well). With a set of planes called Hollows and Rounds, an infinite variety of moulding profiles could be created. A set of planes were designed to created 1/6th diameter arcs in increments of 1/16th inch.
Various pattern books of the period laid out the formulas for creating the mouldings according to the width of the openings. In his 1827 version of Builder’s Companion, Asher Benjamin wrote that for a door or window, the proper proportion would be found by dividing the opening into eight parts and giving one to the width of the moulding, He noted that this formula would provide a different width for different widths of doors and windows, but said that it wasn’t good to have different widths of architraves in the same room.
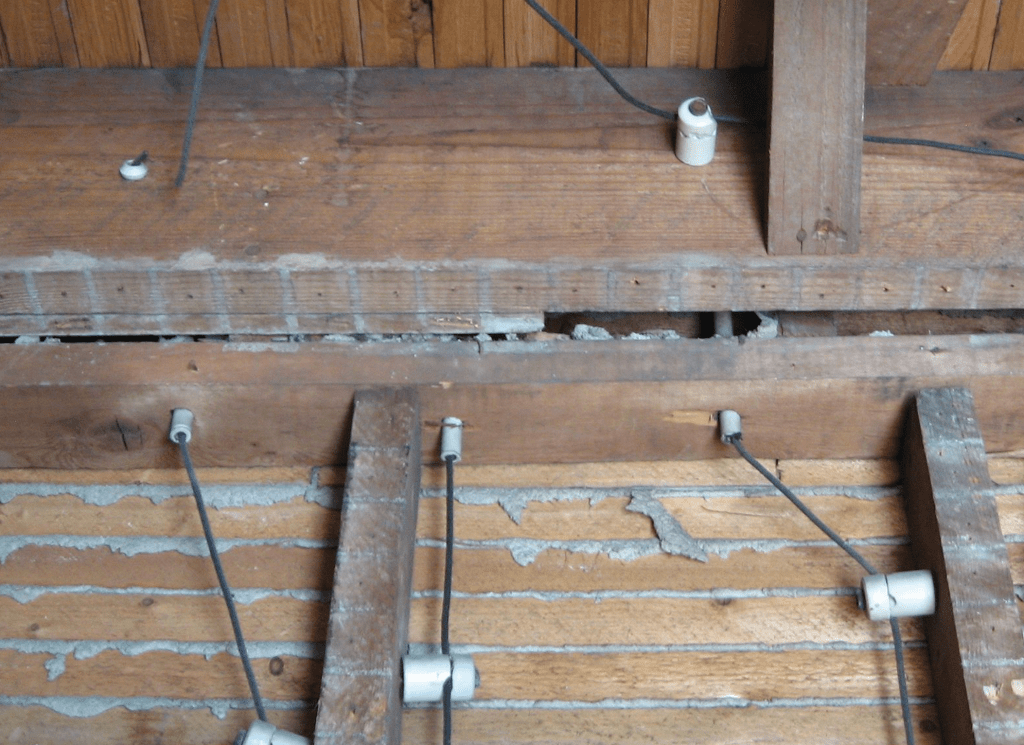
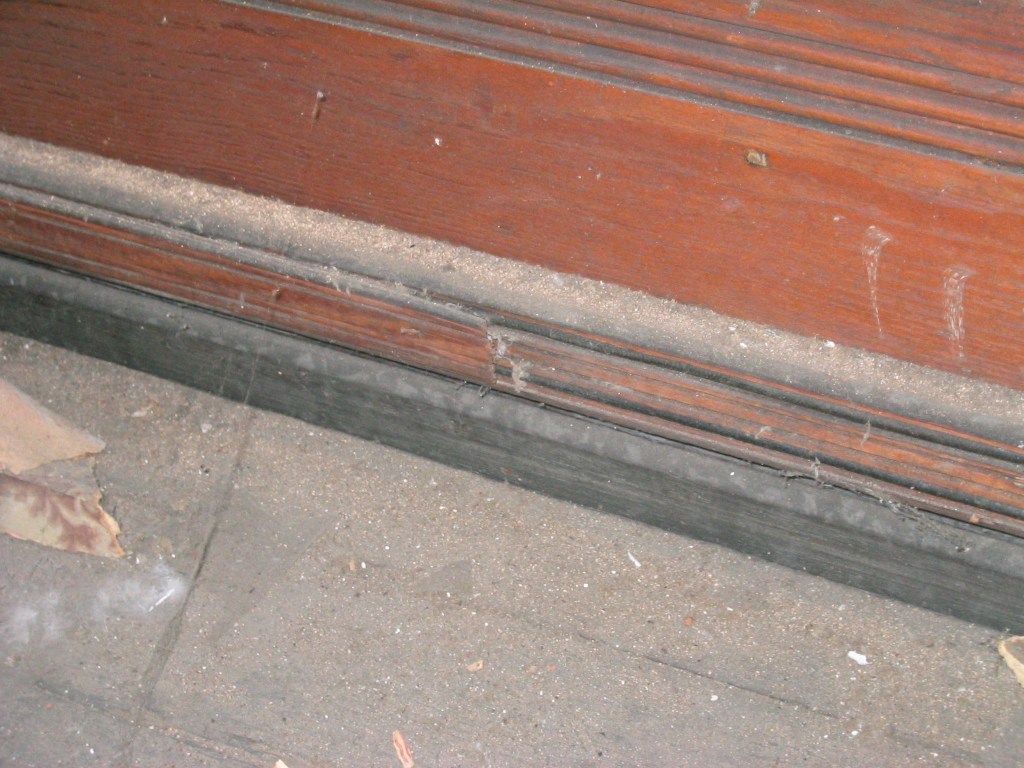
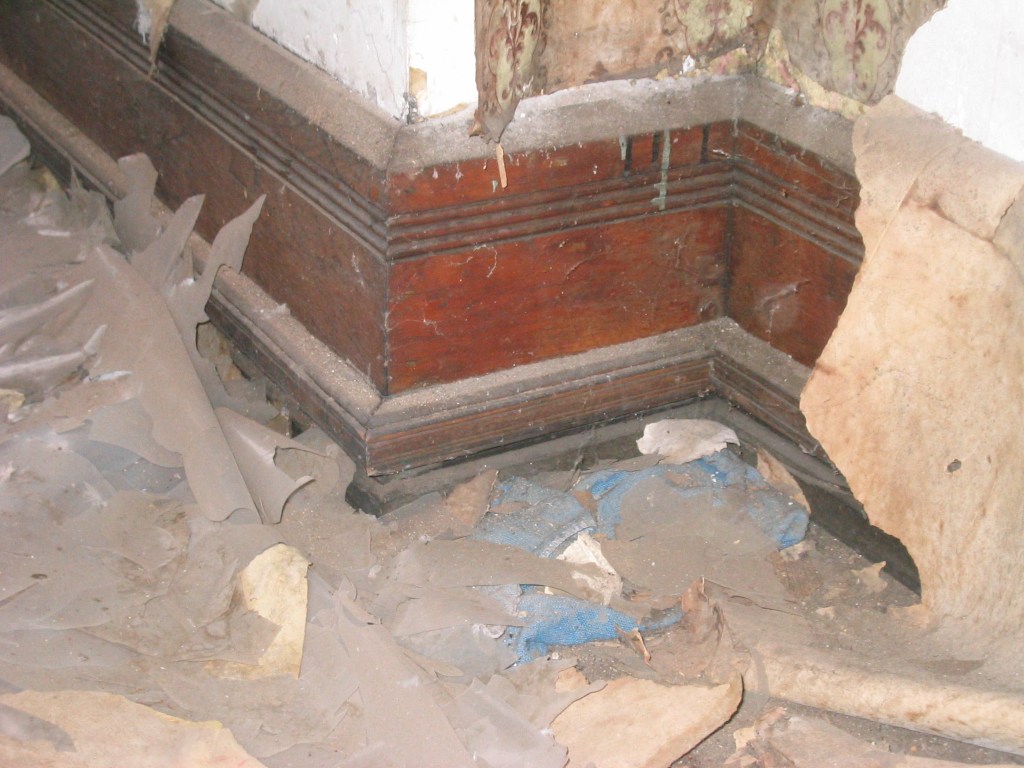
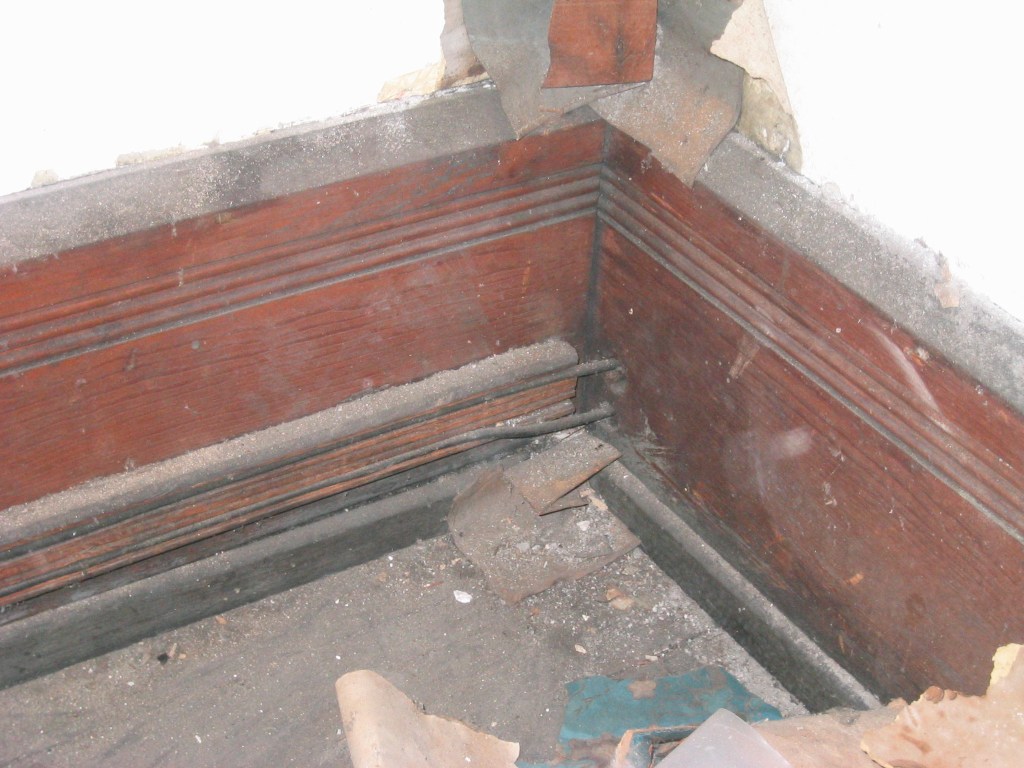
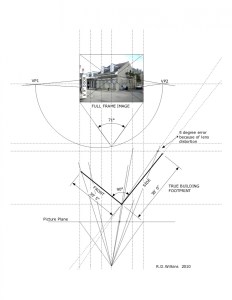
Obviously he wasn’t around to comment on this house interior……….
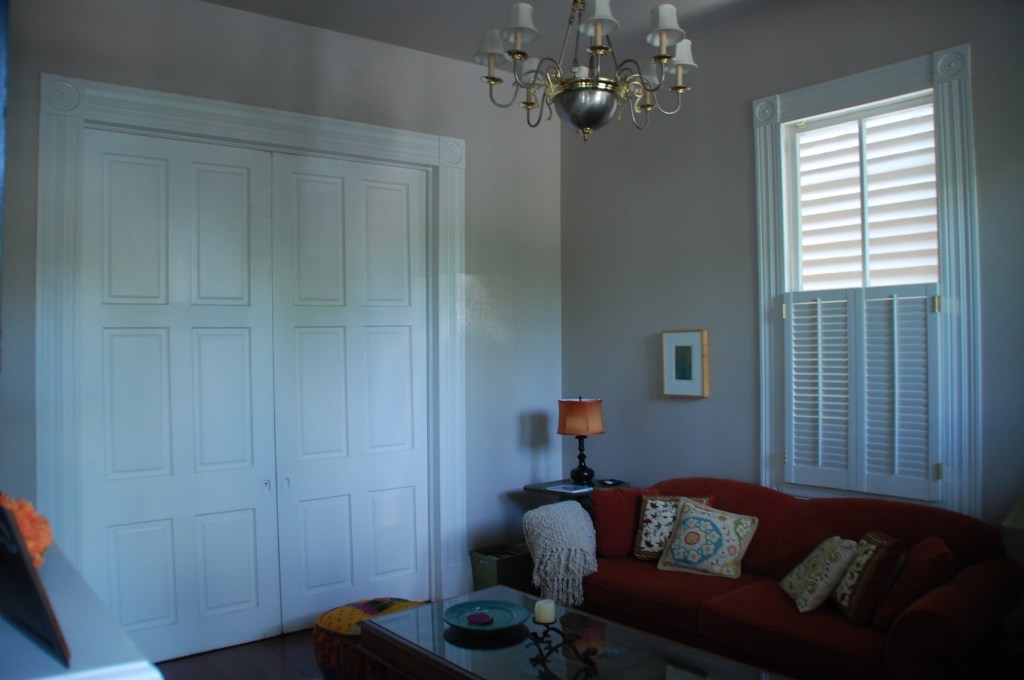
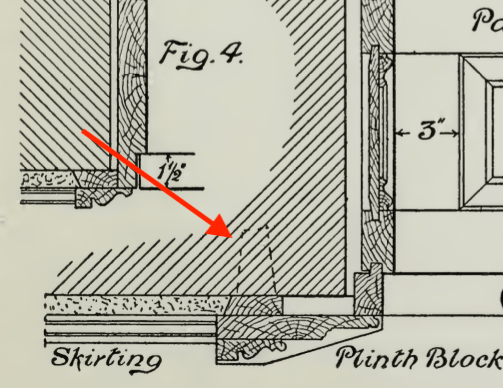
The pocket door opening in the photo is 6′ wide while the window width is about 3′ wide. You probably don’t notice that the architraves and the corner blocks are different sizes. The casing aound the doos is about 6″ in width while the window casing is less than 5″. The casing that frames the doors would look too large around the windows while the window casing width would be too diminished by the pocket door opening width.
Because the casing widths conform to the opening sizes, they look similar enough in size for their differences to be hard to recognize. The fact that they have proportional details within the overal common profile helps as well.
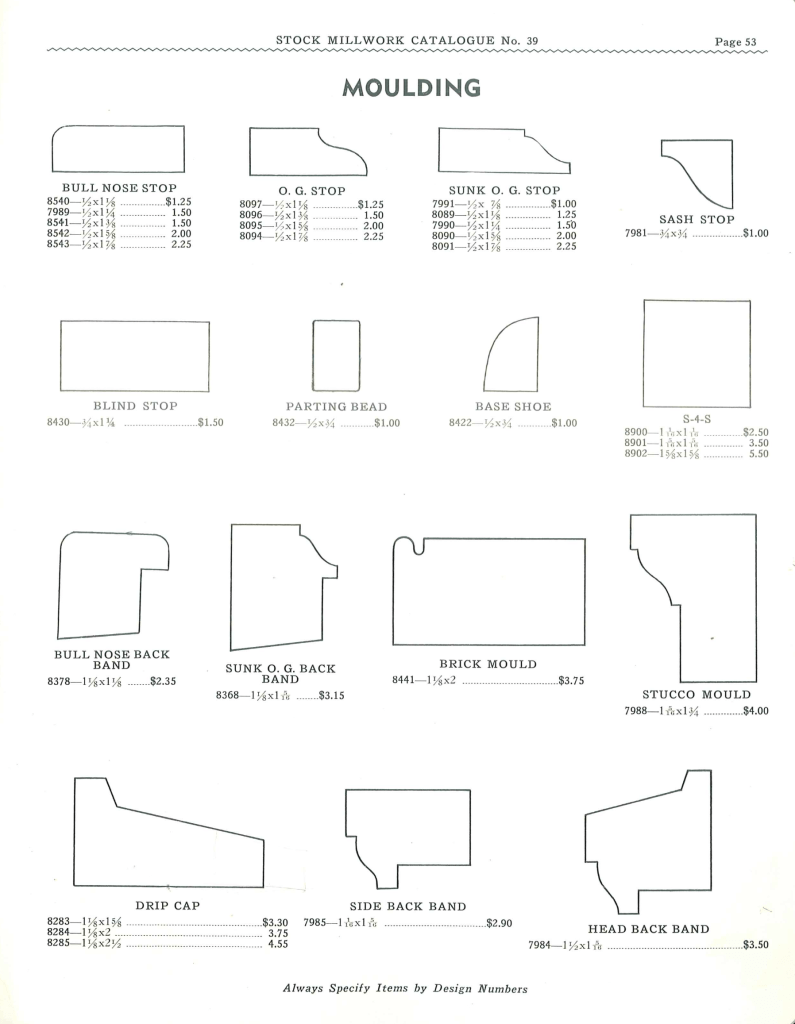
When the factory-made millworker begain to replace the on-site handmade moulding, they settled on a series of profile sizes that would fit most situations based on common door and window opening sizes.
This variety of sizes began to diminish into the 20th century until around 1940, when most catalogues began to offer only a few or even just one size of each profile.
When you have a design that requires moulding profiles that aren’t available, (which is a common problem with 19th century Victorian designs), and you aren’t able to create a built-up moulding from available profiles, you may have to have a set of custom knifes made.
If you order enough linear feet of the mould, some shops will waive the knife fee as it adds to their selection of profiles. Be sure you look into custom knifes before you discount it as being too expensive. The job is also done by CNC now rather than hand-grinding. so the actual operation is not a bid deal.