Cinegear Expo – Why You Should Go

First of all, this is not a paid ad. I’m getting nothing out of doing this post other than making people aware that they may be missing a big opportunity to take advantage of an event where they can learn a lot about the state of current and upcoming technology that is created specifically for the entertainment industry.

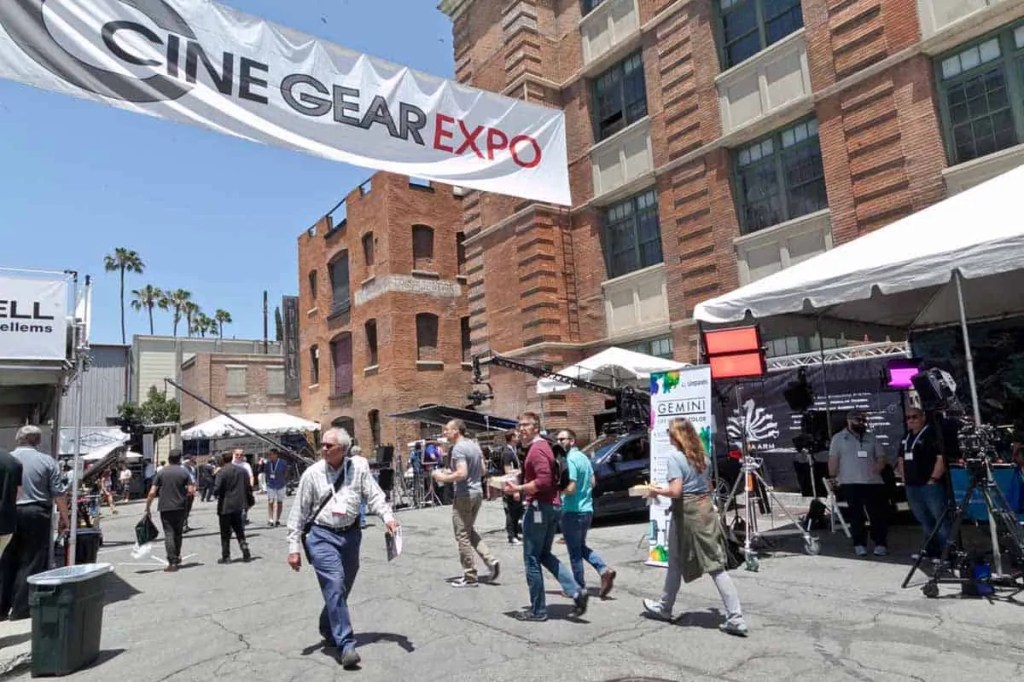
Cinegear is an annual expo that takes place in Los Angeles during the summer. This year it’s being held back at its usual spot on the Paramount Studios lot in Hollywood on June 1 – 4. (There was one in New York in March and there will be a slimmed down version in Atlanta in October). And, it’s free. Admission is now waived, you’ll just have to pay for parking in an adjacent structure.

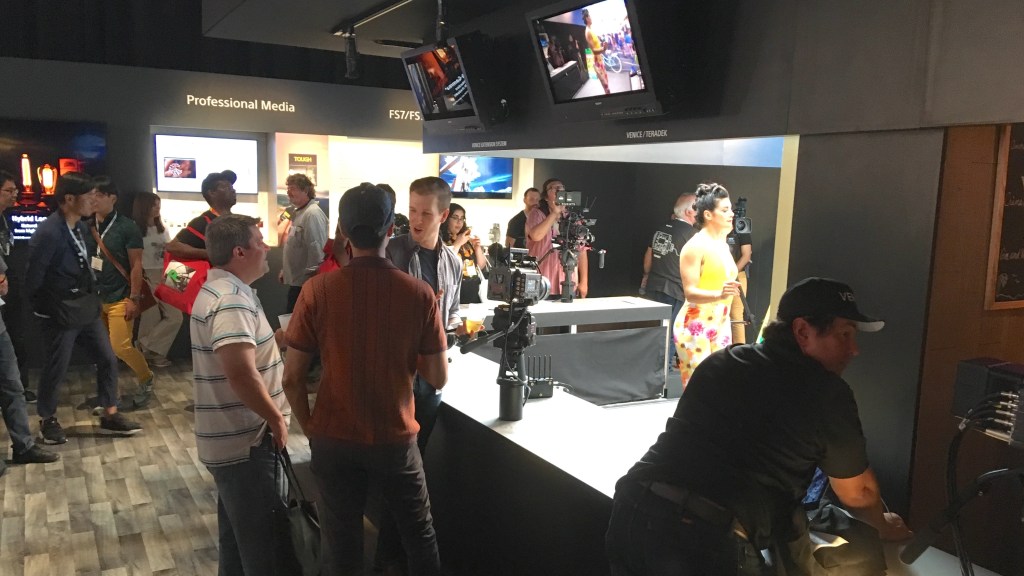
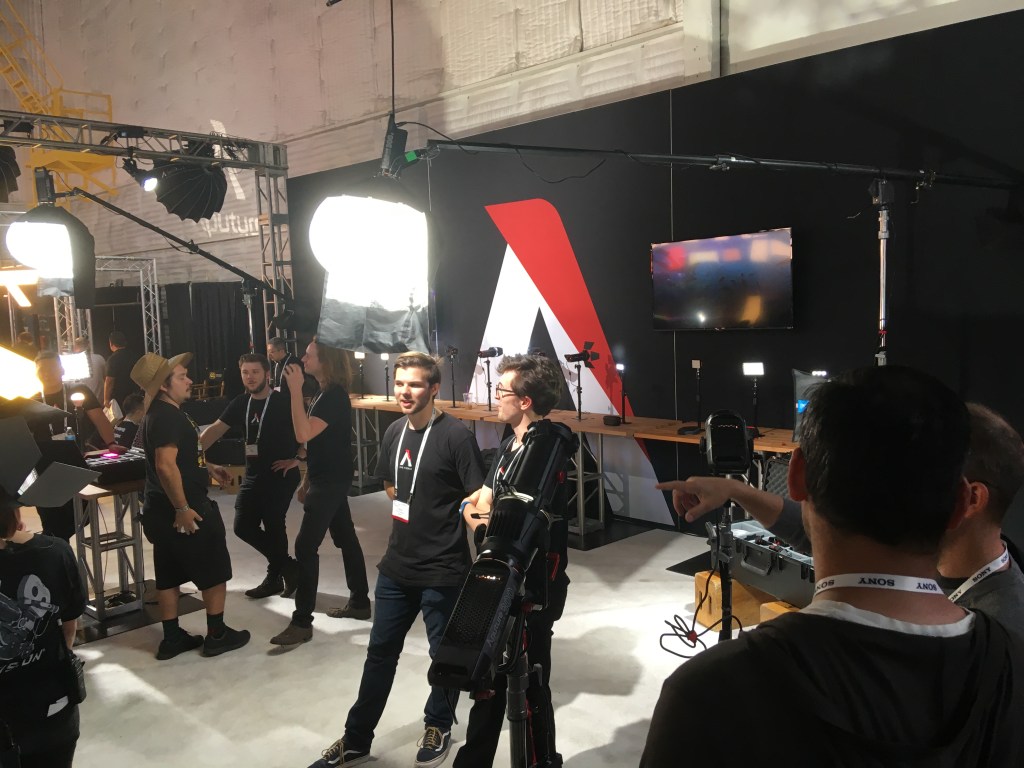
Known mainly as a product expo for manufacturers and purveyors of cameras, lighting instruments and production equipment, the event is a perfect place for designers and art directors to find out about inventions and equipment that will affect their jobs now and in the future.

People who aren’t camera-savvy tend to be intimidated by the immense amount of hardware on display and assume that they have nothing to gain by spending a day looking at cameras and grip equipment.

Yes, it’s geared toward professional camera crews, but they don’t make you take a test at the gate. The vendors are more than happy to answer any and all questions about their merchandise, even ones that you think might be simplistic. There are also hands-on exhibits and master classes available to anyone.

Where else can you go and see (and play with) every available cinema camera that’s on the market? My daughter loves checking out those $60,000 cameras that she can’t yet afford to rent.

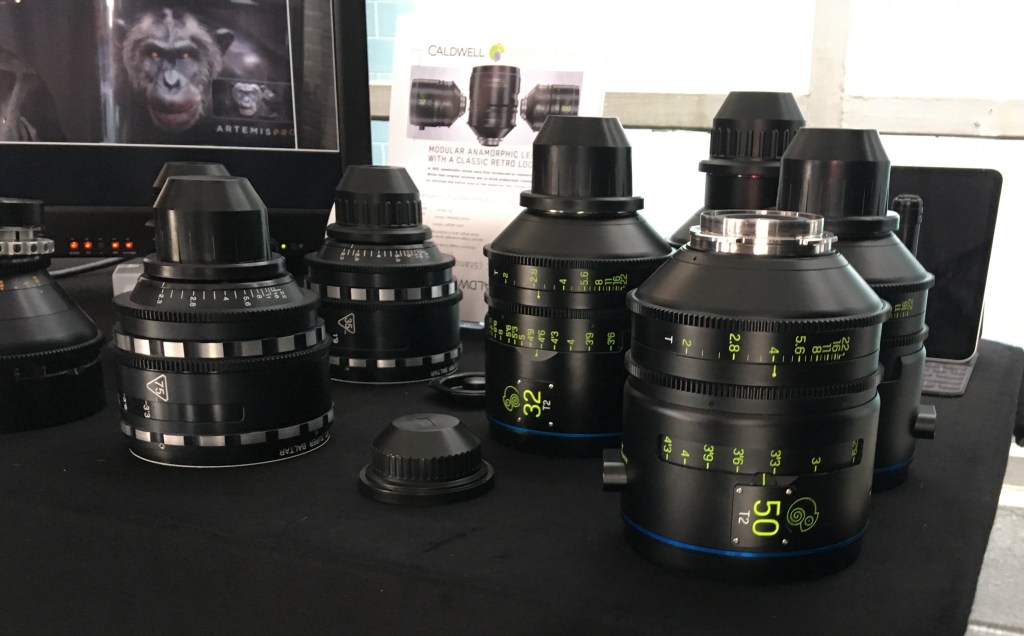
At the Panavision booth they’ll even put any vintage anamorphic lens you want on one of their cameras so you can see them in action.

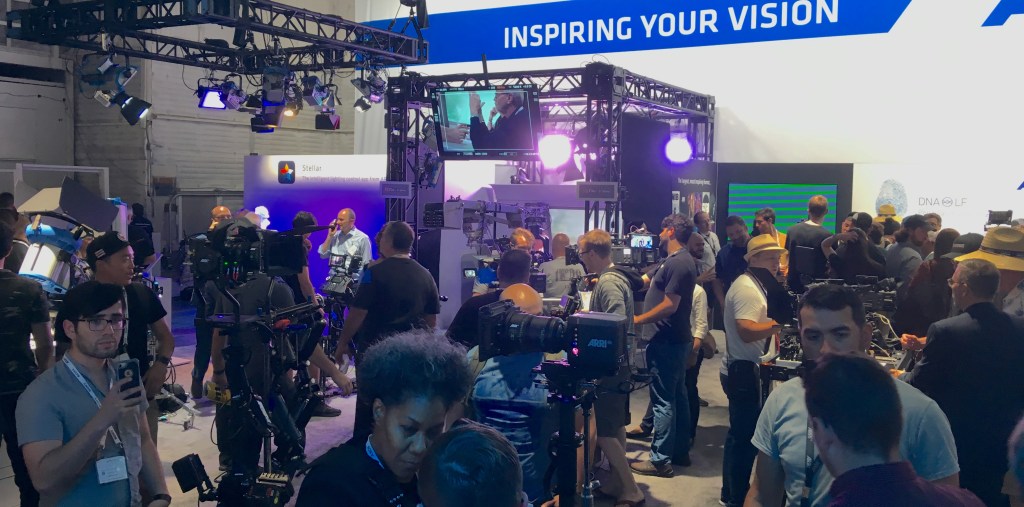
And it’s not just cameras that are on display. Vendors of new LED lighting instruments, LED wall systems, backings, pre-visualization systems, etc., are eager to show anyone involved in the business what the possibilities are. LED lighting instruments keep getting better, brighter, and smarter. The new Arri LED panels, for instance, are set up to mimic any color temperature or lighting effect.

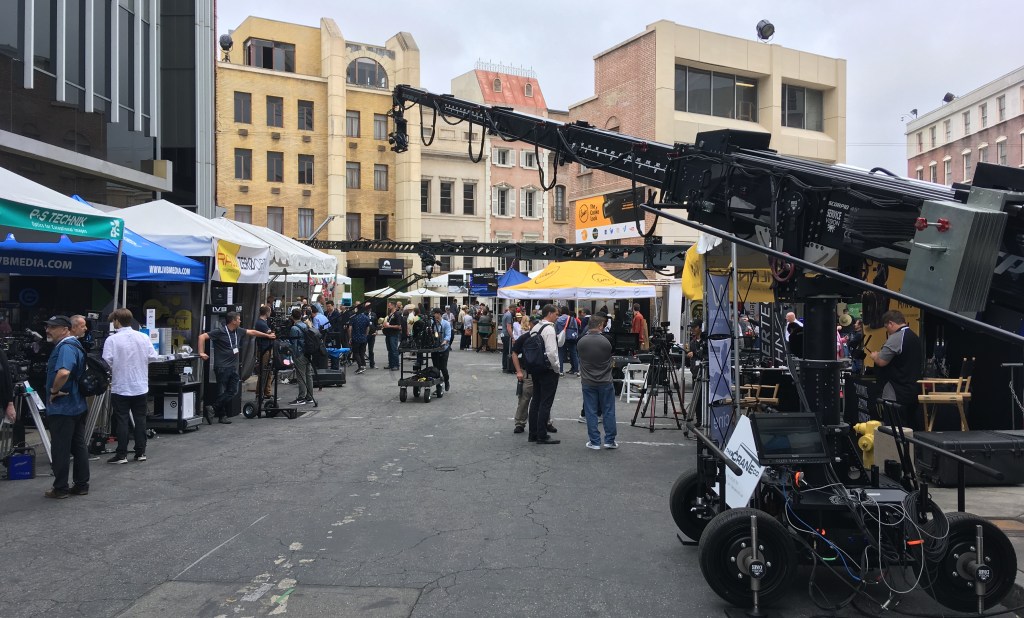
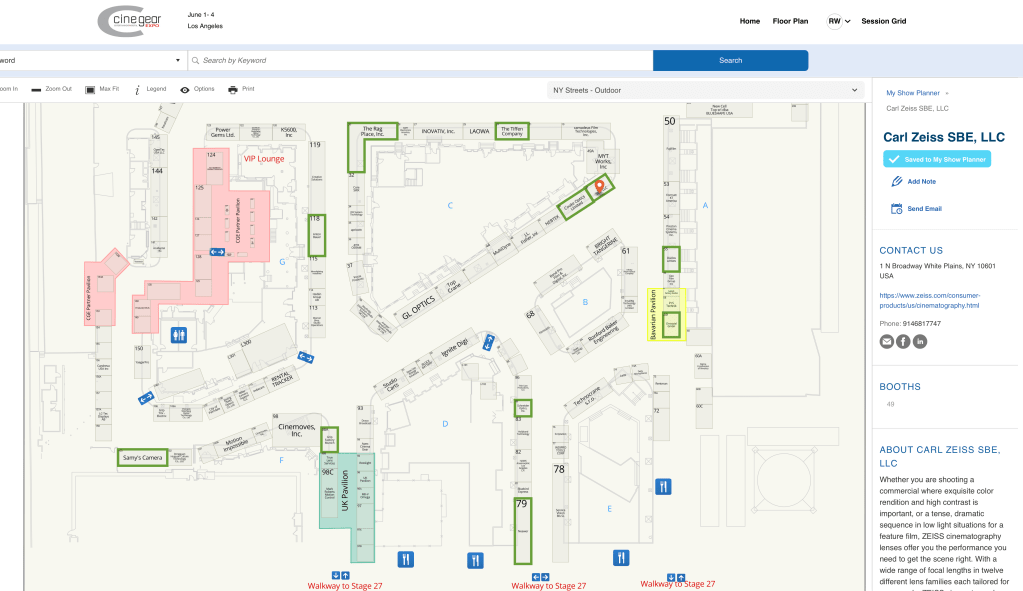
You can see a map of the vendor sites on their webpage, and you can create your own map to track booths you want to visit ahead of time if a fear of being overwhelmed by the size of the venue (nearly 200 vendors) is a concern. Vendor booths fill 5 sound stages and the entire backlot area.

Master classes are usually held on the last day and attendance quotas fill up quickly, so be sure and make a reservation in advance.

If you do go, save time by registering beforehand and skip the long line at the gate:

Registration page is here.

This years’s show should be well-attended. It’s been 4 years since the last show at Paramount. Last year there was a much scaled-down version at the Los Angeles Convention Center which was disappointing to say the least.

The Digital Bookshelf – “Plastering Plain And Decorative”

My preference for books is always a hard copy, but sometimes having easy access to the information is more important than having a physical book, especially when copies of the actual book are impossible to find or really expensive.

That’s the case with this book, Plastering Plain and Decorative. First published in 1890, the book has become known as “The Plasterer’s Bible”. Now out of print, except for the occasional third-party reprint, it went through four editions. It contains hundreds of black & white photographs and drawings which aren’t always of a very good quality with most of the modern reprints, usually because they are printed in a smaller size than the original quarto size and because the scan quality of the original images is bad.

On top of not being of a very good quality, they are also nearly as expensive as an original copy, which would be a better bet as those are stitched like a traditional book and not perfect-bound (glued edges) like all soft cover books are. I have seen so-so quality reprints go from anywhere from $100 to $300.

Fortunately there is an inexpensive (free) copy of the book online at the Internet Archive. This isn’t just a book of nice drawings and photos, this is a book written for crafts people. Besides the layout diagrams, there are drawings of the actual tools used to create complicated plaster elements and a huge list of plaster types as well as the ingredients and mixtures used to create them in various time periods, such as instructions on what type of animal hair to use in the staff pieces for strength. It is an early edition of the book and contains over 700 pages which is more than is included in later editions.

The book covers not just typical plasterwork but, sculpting, mold making, terra cotta work, scagliola, sgraffito, and composite decorations. Besides Western European techniques it examines designs and techniques from Japan, China, India, Persia and the Middle East.

There is also a section on concrete work such as staircases, sidewalks, road, roofs, fountains, and other decorative elements.

You can find the digital book here at The Internet Archive. There are a number of different digital files available for download with varying file sizes depending on the quality of the images you want to have available.

The $150 Forced Perspective Miniature – Part 2

A diagram showing the set shot at the widest angle with a 25mm lens.

( This is the second part of a previous blog entry -Read Part 1 here. )

When the work print arrived from the lab, I couldn’t get it up on the flatbed editing machine fast enough. These were the days when you didn’t know for at least 24 hours whether or not you had captured anything on the film stock, much less something that looked any good.

A miscalculation in an exposure setting wasn’t something you could see beforehand on a monitor. If you had flubbed up, it could mean jettisoning the whole scene altogether. Sometimes reshoots, like this one, were just impossible. It wasn’t for nothing that I was nervous. The first scene of the film would end up having to be reshot twice. Once because of a mislabeled neutral density filter and another because of a sloppy meter reading.

This was when you kept Pepto Bismol handy for the times when you finally saw your footage and realized you had just spend a lot of time and money on film and processing for nothing.

The print ran through the viewer and the scene appeared on the screen. It was just a single-light print but I was relieved. We got a good shot. The next scene looked good too, exposure wise. Still, there was something that bugged me.

Never Work With Children Or Animals, Or . . . .

Miniatures of static or physical objects is one thing, but shooting miniatures with natural elements is another thing altogether. Replicating rain, bodies of water, smoke, and fire are tricky.

It’s the reason most model ships for films are built at a large scale. The model for James Cameron’s Titanic is over 25 feet long. It was a true milestone when VFX artists were able to create believable water effects.

Making a fire look like a really big fire or making water behave naturally in a smaller scale usually requires over-cranking, shooting at a faster frame rate so when you slow it back down to 24 frames a second, it smooths out the movements to a speed that looks more believable to the eye.

Unfortunately combining over-cranked footage with in-frame live actors was beyond my capabilities. Today this whole problem could have been solved by a high school student with a green screen and Premier Pro editing software. Not a big deal. I was stuck with in-camera effects.

So, the fire effects weren’t quite up to my expectations but the fact I had gone for a bigger size (as in extensive) backing helped minimize the effect. The focal length of the lens helped too, along with the shallow depth of field.

Analyzing Different Set-ups

Diagram of camera set-up

How could I have improved the flame effect? Well, I could have built the facade at a larger scale. Below is a diagram showing the scale of the backing compared to a full size person.

On top of the backing is an icon of a person at the scale of the facade.

Below is an image of what the facade would have looked like at twice the scale size.

Angle of view on a 25mm lens
Angle of view on a 75mm lens

Yes, the flame effects would have been even more frightened real. The fire would have also been at the scale of an actual small house fire and without a lot of fire suppression in place, it would have been incredibly unsafe. The detail of the backing would have also needed to be much more realistic. I also was trying to capture a feeling of isolation, and the scale I used allowed me to portray the actress as being farther away from the fire than I would have been able to achieve given the size of the pond.

The fire burned itself out quickly. We went in and put out any remaining embers with a fire extinguisher and Hudson sprayers. I’m sure the firemen were even happier than I was that they got a good show and hadn’t had to drag their firehose through the mud, which would mean spending the rest of the evening cleaning firehose. And that, I can tell you, is really not a fun job.