Wood Moulding And Proportions

When recreating a period set from the 1800’s in particular, it’s difficult to really replicate the designs of the period because current wood moulding and millwork don’t allow for what was a common practice by designers and architects; true proportional design.

A moulding catalogue of today looks very different from the original moulding catalogues of the 1800’s. Not only because they contained a larger variety of profiles, but there was a large selection of different sizes for almost every profile that they offered.

The cover of the 1874 Universal Moulding Book. One of the first millwork catalogues for wood moulding.

The oldest moulding catalogue that I own is the Universal Moulding Book from 1874. This catalogue shows over 650 moulding profiles in full size. It isn’t the first version. I know this because the catalogue states that 46 profiles have been phased out from a previous catalogue.

Here is a page of a profile known as a Quirked Greek Ogee and Bevel, a popular profile in the mid 19th century. Notice that there are 17 different sizes.

Why so many sizes?

Originally moulding or architectural enrichment wasn’t an afterthought. The mouldings were designed to be used in proportion to the openings that they surrounded.

In America, and England, before the Industrial Revolution, wood mouldings were made by hand. (plaster ornament was as well). With a set of planes called Hollows and Rounds, an infinite variety of moulding profiles could be created. A set of planes were designed to created 1/6th diameter arcs in increments of 1/16th inch.

My working set of hollows and rounds

Various pattern books of the period laid out the formulas for creating the mouldings according to the width of the openings. In his 1827 version of Builder’s Companion, Asher Benjamin wrote that for a door or window, the proper proportion would be found by dividing the opening into eight parts and giving one to the width of the moulding, He noted that this formula would provide a different width for different widths of doors and windows, but said that it wasn’t good to have different widths of architraves in the same room.

Obviously he wasn’t around to comment on this house interior……….

1839 New Orleans 4-bay townhouse

The pocket door opening in the photo is 6′ wide while the window width is about 3′ wide. You probably don’t notice that the architraves and the corner blocks are different sizes. The casing aound the doos is about 6″ in width while the window casing is less than 5″. The casing that frames the doors would look too large around the windows while the window casing width would be too diminished by the pocket door opening width.

Because the casing widths conform to the opening sizes, they look similar enough in size for their differences to be hard to recognize. The fact that they have proportional details within the overal common profile helps as well.

When the factory-made millworker begain to replace the on-site handmade moulding, they settled on a series of profile sizes that would fit most situations based on common door and window opening sizes.

This variety of sizes began to diminish into the 20th century until around 1940, when most catalogues began to offer only a few or even just one size of each profile.

A page from the 1939 Stock Millwork Catalogue

When you have a design that requires moulding profiles that aren’t available, (which is a common problem with 19th century Victorian designs), and you aren’t able to create a built-up moulding from available profiles, you may have to have a set of custom knifes made.

If you order enough linear feet of the mould, some shops will waive the knife fee as it adds to their selection of profiles. Be sure you look into custom knifes before you discount it as being too expensive. The job is also done by CNC now rather than hand-grinding. so the actual operation is not a bid deal.

Tools For Identifying & Specifying Wood

It can be tricky to identify or specify a particular wood if you’re not very knowledgable about working with it. There are hundreds of different species available and even though a small number of those are in common usage in the construction trade, narrowing it down to the ideal look you want can be frustrating.

For many years a Production Designer was able to just hand a Scenic Painter a photograph and the artist would “grain” the surface to match any kind of wood they wanted. With the loss of painters who are trained in “graining”, it has become more common to find a laminated material which matches their choice or to use actual wood veneer that matches the reference.

One website that I’ve found recently is a very good starting point to locate a match to a reference photo you might have or select a wood species based on your preferences of shade, color, or grain.

The Wood Database was created by Eric Meier in 2007 and now includes images and data for over 600 different wood species. You can search by name, type, location, appearance, and several other catagories.

Each species entry has a color photo of the wood showing grain pattern (depending on the cut orientation) as well as the scientific data as to hardness and shrinkage rates.

The information is also available in hardback book form, which can be ordered from the site, which features the data on over 350 wood types, including large color images of each species.

There is also a wood identification guide section on the site to take you through the steps of making an identification.

Another good reference is a book called What Wood Is That? by Herbert Edlin. The book explains basic wood characteristics and details 40 common wood types. It also includes 40 actual wood samples so that you can see a real-life sample of the types outlined.

The actual wood samples that are in What Wood Is That?

For larger wood samples to look at, I’d suggest getting a set of veneer samples like the ones below. You can find sets like the one below from various venders on Amazon. Be sure that you get a set that have labels attached for easy identification. With these, you have a piece large enough ( they are usually about 6″ x 12″) to be able to try different stains, finishes, or age to your liking.

A typical set of large veneer samples

Moulding In The Classical Tradition Lecture – February 26

If you are in the Los Angeles area at the end of February, The Southern California chapter of the ICAA (Institute of Classical Architecture and Art) is presenting a lecture entitled “Authenticity & Historic Design in Architectural Millwork” on February 26, from 6:00 to 8:00 PM.

The presenter will be Brent Hull, a nationally recognized expert on historic design and architectural authenticity. He will present information and inspiration from his new book “The Design and Manufacturing of Historic Millwork From 1740-1950” published by Wiley & Sons. 2025.

Hull is an award-winning master builder and expert in historically accurate architectural millwork and mouldings. For over thirty years his craftsmanship has enhanced nationally registered properties and homes across the country. Hull honed his expertise at Boston’s North Bennet Street School where he trained in the art of traditional building and historic preservation prior to founding Hull Millwork & Hull Homes in Fort Worth, Texas.

He has authored five books on historic millwork and architectural design including his most recent work, which is a follow-up to his previous book, “Historic Millwork”, published in 2003. His current book includes moulding of the mid-18th century and early 19th century periods, which weren’t covered in the earlier volume.

He will be talking about the stylistic and functional shifts that accompanied the transition from pre-industrial hand-crafted techniques to mechanized production. Hull provides a framework for identifying period-specific profiles and understanding the design logic that shaped moulding development across two centuries of American building tradition. Participants will gain practical knowledge for making informed specification decisions for restoration and classical new build projects.

Here is the link to register:

https://www.classicist.org/calendar/events/authenticity-and-historic-design-in-architectural-millwork-with-brent-hull

If you aren’t familiar with the ICAA, they are a great resource for connecting with architects and artists who are interested in and trained in the classical arts tradition, both in restoration work and new construction that honors the early periods. They have active chapters all over the country.

Brent will be giving his presentation iat several other chapters around the country so you might check the ICAA calendar if you don’t live on the west coast.

Here is the link to the main ICAA page to find out more about the organization and learn about events in other parts of the country:

https://www.classicist.org


Visualization Exercises – Understanding Scale

You can download a PDF of this chart below

Visualization skills are something anyone can learn. You just need to understand the basics of scale. Once you familiarize yourself with the basic scales that are used in design you can start to train your brain to correctly imagine anything and visualize it in an actual space.

I created the diagram above for a blog article I wrote about model scale. The article was about choosing a proper scale for physical models rather than digital ones.

The article didn’t clearly explain what ‘scale’ is or how it’s used in technical drawings. It also didn’t explain the difference between a ‘scale unit equivalent’ and a ‘ratio’, or how to use scales to help you with visualize objects in your mind.

Drawing Scales

Drawing in scale is a way to clearly communicate the size of something, either physical or imagined, in a visual way to help the viewer understand the proportions and size of an object. Either on its own or in relation to other objects.

Some drawing scales are noted by using a measured unit and comparing it to a life-size unit, such as 1/4″ = 1′-0″, which is a popular scale for architectural drawings.

This means that 1/4″ as measured on the drawing is 1′-0″ in actual size.

On the diagram above you’ll see the use of scale ratios. Note the ratio of 1:48 has the 1/4″ scale in parenthesis. The ratio scales can be interpreted as dividing the full size unit into that number of divisions. If you divide 1 foot into 48 segments, each of those segments would be 1/4″ long. So, a drawing with a ratio of 1:96 would be the same as 1/8″=1′-0″. A scale of 1″=1′-0″ would be a ratio scale of 1:12, as there are 12 inches in a foot.

Look at your shoe. If you are an average size person, the length of your shoe is about 1 foot long (28 to 30cm if you use the metric system). If you wanted to draw the outline of the sole of your shoe in, let’s say 1/2″=1′-0″ scale, that would be an equivalent ratio of 1:24. 12 inches divided into 24 parts would each be 1/2″ long.

If you use the metric system you’re in luck. You don’t have to deal with a silly fractional system and you use a strictly ratio system for drawing scales.

Analog Is Best

A scale of 3/4″=1′-0″ is a very common scale for drawing architectural details, but not for designers who mainly work in the theater. Because of tradition, in the theatrical world, such as Broadway, the standard size of plans and elevations is 1/2″+1′-0″.

A detail of an elaborate doorway will obviously look much larger when drawn at the 3/4″ scale than at 1/2″ scale. If you are used to looking at details in one scale, the same details will look ‘wrong’ in the smaller or larger scale.

I worked with a designer who asked me to not draw details in 3/4″ scale because he was used to visualizing designs full-size while looking at them in 1/2″=1′-0″ scale. Seeing them in a larger scale was disconcerting for him while visualizing.

As far as visualizing in scale, seeing a drawing printed on paper is better than looking at it on a computer screen every time. In terms of viewing images on a computer screen, the screens will lie to you every second of every day, in all kinds of ways, particularly in regards to size comparisons.

Imagine you’re looking at a drawing of sofa that is drawn in 1/2″ scale, or 1:50 in metric, on a computer screen. On your desk is a drawing of a room plan in 1/4″ scale, or 1:25 in metric. If the sofa drawing was on paper you could easily convert the sofa in your mind to the smaller scale to imagine how it would fit in the room.

If the sofa drawing is on a screen, how can you be sure if the scale is correct? You can’t. Even if the software is telling you that the image is being presented in a scale that is true to the stated size, most people could not make the visual transformation unless they were very experienced in doing it.

The Packets

You can download the Visualization Chart packets from the links below. If you’re in the States, you want to download the packet marked “Imperial units”. If you’re anywhere else in the world that uses the non-fractional, uncomplicated, easy-to-use measuring system known as Metric, be sure to download that one.

The packet with Imperial /foot/inch scales contains 8 sheets with 5 scales: 1/8″, 1/4″, 1/2″, 3/4″, and 1″. There is also a copy of my Multiscale in the event that you don’t own an architects scale.

Print these all at 100% on letter size paper. Be sure that the print setting is at 100!

The metric packet contains 7 sheets in 4 scales: 1:100, 1:50,1:20, and 1:10. The seventh sheet is a Multiscale in metric. The Multiscale includes the 1:25 ratio which I didn’t include in the diagrams. That ratio doesn’t seem to be much used anymore. Let me know if that isn’t the case.

Print them all on A4 paper at 100%.

Using The Diagrams

Prepare The Multiscale

Print it out at 100% and check the lower scale markings against a known ruler or measuring tape to be sure it is printed correctly.

Cutout the gray areas for ease of measurement. You can also glue it to a piece of cardstock or a file folder to make it stiffer.

Exercise #1

Get familiar with the different scales. Examine the way objects look in the Plan view from above as opposed to the Elevation views from the sides. Does either view make the object, either the people or the vehicles seem different in scale?

How do they compare to each other? Place one scale sheet beside another and notice how the perceived distance caused by the smaller scales affects your perception of their proportions differently than the larger scales.

Exercise #2 – Thinking Vertically

Pick an object that’s relatively large in size such as a sofa, a piano, TV in your room. Now using the scale on the Multiscale, draw the object on the scale Elevation sheet next to the people or the vehicle.

Notice its proportion and size compared to the things on the sheet. Does it seem smaller or larger in comparison than what you visualized in your mind before to drew it?

Take a measuring tape and measure a wall of your bedroom or living room, and draw it in scale on a sheet or another piece of paper. Now look at a framed picture or mirror or wall hanging from another room or another location. Try to imagine it on your wall. measure the piece and draw it in scale on the scale wall drawing. How does it look? Does it take up the same space that you imagined it would when you visualized it on your wall?

Exercise #3 – Thinking Horizontally

Measure your bedroom or another space of your house. Now try to visualize one of the vehicles on the scale sheets appearing inside your house. Using the Plan view of the 1/4″ sheet or the 1:50, draw the floor plan of that room in the chosen scale using the Multiscale. Using pencil, you can draw the space right on the scale sheet. Does the vehicle fit in the space you measured? If it does, does the space around it seem to be the same as what you imagined, or is the space larger than what it feels like when you are standing in it?

Exercise #4 – The Teleporter In Your Head

Take the scale floor plan you’ve drawn of your room and go to a store where they have furnishings. Now look around at things like sofas, large TVs, or beds. Take a tape measure with you or use the measurements they provide at the store. Imagine them in the space.

Test your power of scale conversion by estimating the area of the floor the objects would take up. Draw them on the plan with a pencil. You will eventually be able to estimate foot or metric increments visually on a scale drawing. In 1:50, the width of the tip of a finger is about 1 meter in scale. In 1/4″ scale, the width of a finger is about 3 scale feet. The width of a thumb is 4 feet.

When you get home, test your guess. How close were you?

What Is A “Double Dap” Hinge?

One of the reasons that I wrote the Wrand Film Glossary was to record many of the obscure film and entertainment industry terms that get passes down orally but are never recorded.

Art department and set construction lingo is usually not included in the typical film glossary, and “Double dap” is one of those odd terms that you will hear used by Prop Makers* but have probably never had it explained.

The term refers to how the hinges of a door on a stage set are to be installed. Normally the installation of hinges for a door involves creating mortises in the door stile and the jamb that match the thickness of the hinge leaves. That’s referred to as a “single dap” installation. (Note: this is specifically for doors in North America or the UK. Many Continental European doors are half-overlay and don’t use the type of leaf hinges that are standard here.)

Typical hinge installation – referred to as a Single Dap

A “double dap” installation involves creating a mortise in the door which is twice as deep as usual and not making a mortise in the jamb, as shown below.

Example of a Double Dapped hinge

The diagram below is a side-by-side plan view showing both types of installation.

So what’s the purpose of this? Well, this is something that is more typical on sets for a broadcast show than on sets for a feature film.

One advantage is speed. We tend to build sets at a pretty brisk pace, sometimes building an entire set over a weekend. For example, if you have a set with six doors, that means you need to install 18 hinges, which means routing 32 mortises. With a double dap installation you cut that number in half.

Another advantage is if you are redressing a set and need to change out the door of an opening for a different door. With a standard installation, you will need to patch and fill and re-rout three mortises. Instead you just need to fill some screw holes.

This is also the case if you need to change the swing direction of a door at the last moment. (Good luck prying off and repositioning that door stop.)

Double dapping has fallen out of favor lately. Production Designers don’t like the look of it for one thing. (Along with Phillips head screws on a period hinge!) They tend to stick out particularly when the hinges are a contrasting color from the jamb or if the wood is painted a light color and the hinges have a dark laquer/black finish. In some instances this condition can either visually hide the extra mortise depth or accentuate it.

Also, notice the round corners on the hinges in the photos. Round corner hinges are a 20th century invention to speed up production. Once machinery, i.e. routers, was being used for mortising, it became a lot faster to create hinges with leaves that didn’t require squaring off the mortise corners as was necessary for period, square hinges. Round corner hinges come in 1/4″ and 5/8″ radius corners, so be aware of what radius size they are if you’re choosing hinges for a door that has already been mortised.

Note: Prop Maker is a designation for a union stage carpenter in Los Angeles to differentiate them from a ‘civilian’ carpenter. They are trained it building theatrical scenery of all types and historical periods and specialize in creating scenery for film productions. They are more similar to cabinet makers than a typical carpenter and are skilled in construction techniques and methods that would baffle most people outside the entertainment industry.

Sometimes Unwanted Holes Aren’t So Bad

You’ve probably never thought about how sound can affect your stage set. Beyond trying to not create an environment that would drive the sound recordist mad, you usually don’t think about odd acoustic anomalies that might pop up that you never intended to happen. Like echoes.

Computer Hall set – Gattaca – Columbia Pictures 1997

Yeah, echoes will bite you in the ass if you’re not careful.

On the main set for the 1997 film Gattaca, just such an anomaly occurred, and it was the cinematographer who ended up saving the day.

And what does the cinematographer have to do with sound problems? Keep reading.

The Computer Hall set was designed by Production Designer Jan Roelfs and was inspired by the real-life location that he and Director Andrew Niccol chose for the film. The actual building chosen for the exterior of the Gattaca Aerospace Corporation was the Marin County Civic Center in California, designed by Frank Lloyd Wright. The art department flew to Marin and surveyed the interior details so that they could be matched for the set on stage, which was in a warehouse in Playa Vista.

The building they had leased made for an odd sound stage, but its size made it large enough to build the sets for the film in. There were the normal problems you deal with in a structure that was never designed to be a sound stage: support posts at regular intervals, a ceiling that is not nearly as high as those in an actual sound stage. On the plan below, you can see where the oval columns were designed to hide two of the building’s I-beam columns.

These are my drawings of the plan and elevations of the set with the areas of the sound problems circled.

(One note: on the title block, you’ll notice it reads “Eighth Day”. This was the original title of the film. In pre-production, the producers learned that there was a French movie of the same name that was going to be released, and a name change was required. The writer and director Andrew Niccol decided that he would create a new title using the four letters used to identify the nucleobases of DNA: GATC.)

Turns out, theater designers had known about the sound reflective effects of elliptical and parabolic ceilings for years, as most of the western world designed theaters in the mode of the typical Italian horseshoe layout plan.

A presentation at the 2017 International Congress On Sound was focused on this phenomenon.

In New York City’s Grand Central Station, there is a ‘whispering gallery’ or acoustic vortex. This is an architectural phenomenon created by a number of configurations, in this case, a vaulted ceiling in the subway entrance under the terminal. A person standing in one corner of the hall intersection can whisper into the corner and the sound travels over the curved surface of the ceiling and can be heard by a person standing in the opposite corner.

New York Grand Central Station

I discovered the echo one day when I was walking the set and stopped at the point in question. I saw a gnat and clapped my hands together to kill it. That’s when I heard the strange echo. Horrified, I clapped again and there was the same echo. I clapped a third time, just as Jan was walking through the set. He stopped and frowned. “Don’t do that!’, he said.

I think what was happening was that the area beneath the lower section of the ceiling of the set created a flutter echo, which was enhanced by the smooth ceiling surface. The two large skylights didn’t seem to affect this echo.

There was no carpeting or fabric to dampen the sound which would have eliminated this effect.

The solution came for the most part when the cinematographer, Slawomir Idziak, told us that he needed more practical lights in the set. This required creating dozens of new openings in the lower sections of the ceiling. These holes interrupted the acoustic waves and the echo disappeared. With the addition of the desks and the background actors, the sound reflection was minimal.

The photo below shows the original skylights in yellow, with the new lights circled in green.

18 Design Reference Books You Should Have On Your Shelf (UPDATE)


design book montage_1

Ten years ago,  I wrote a post on 10 design books that I thought everyone should have. Looking at that list now, I think I need to expand on it by adding a few more to the list.

Here is my must-have list with sources:

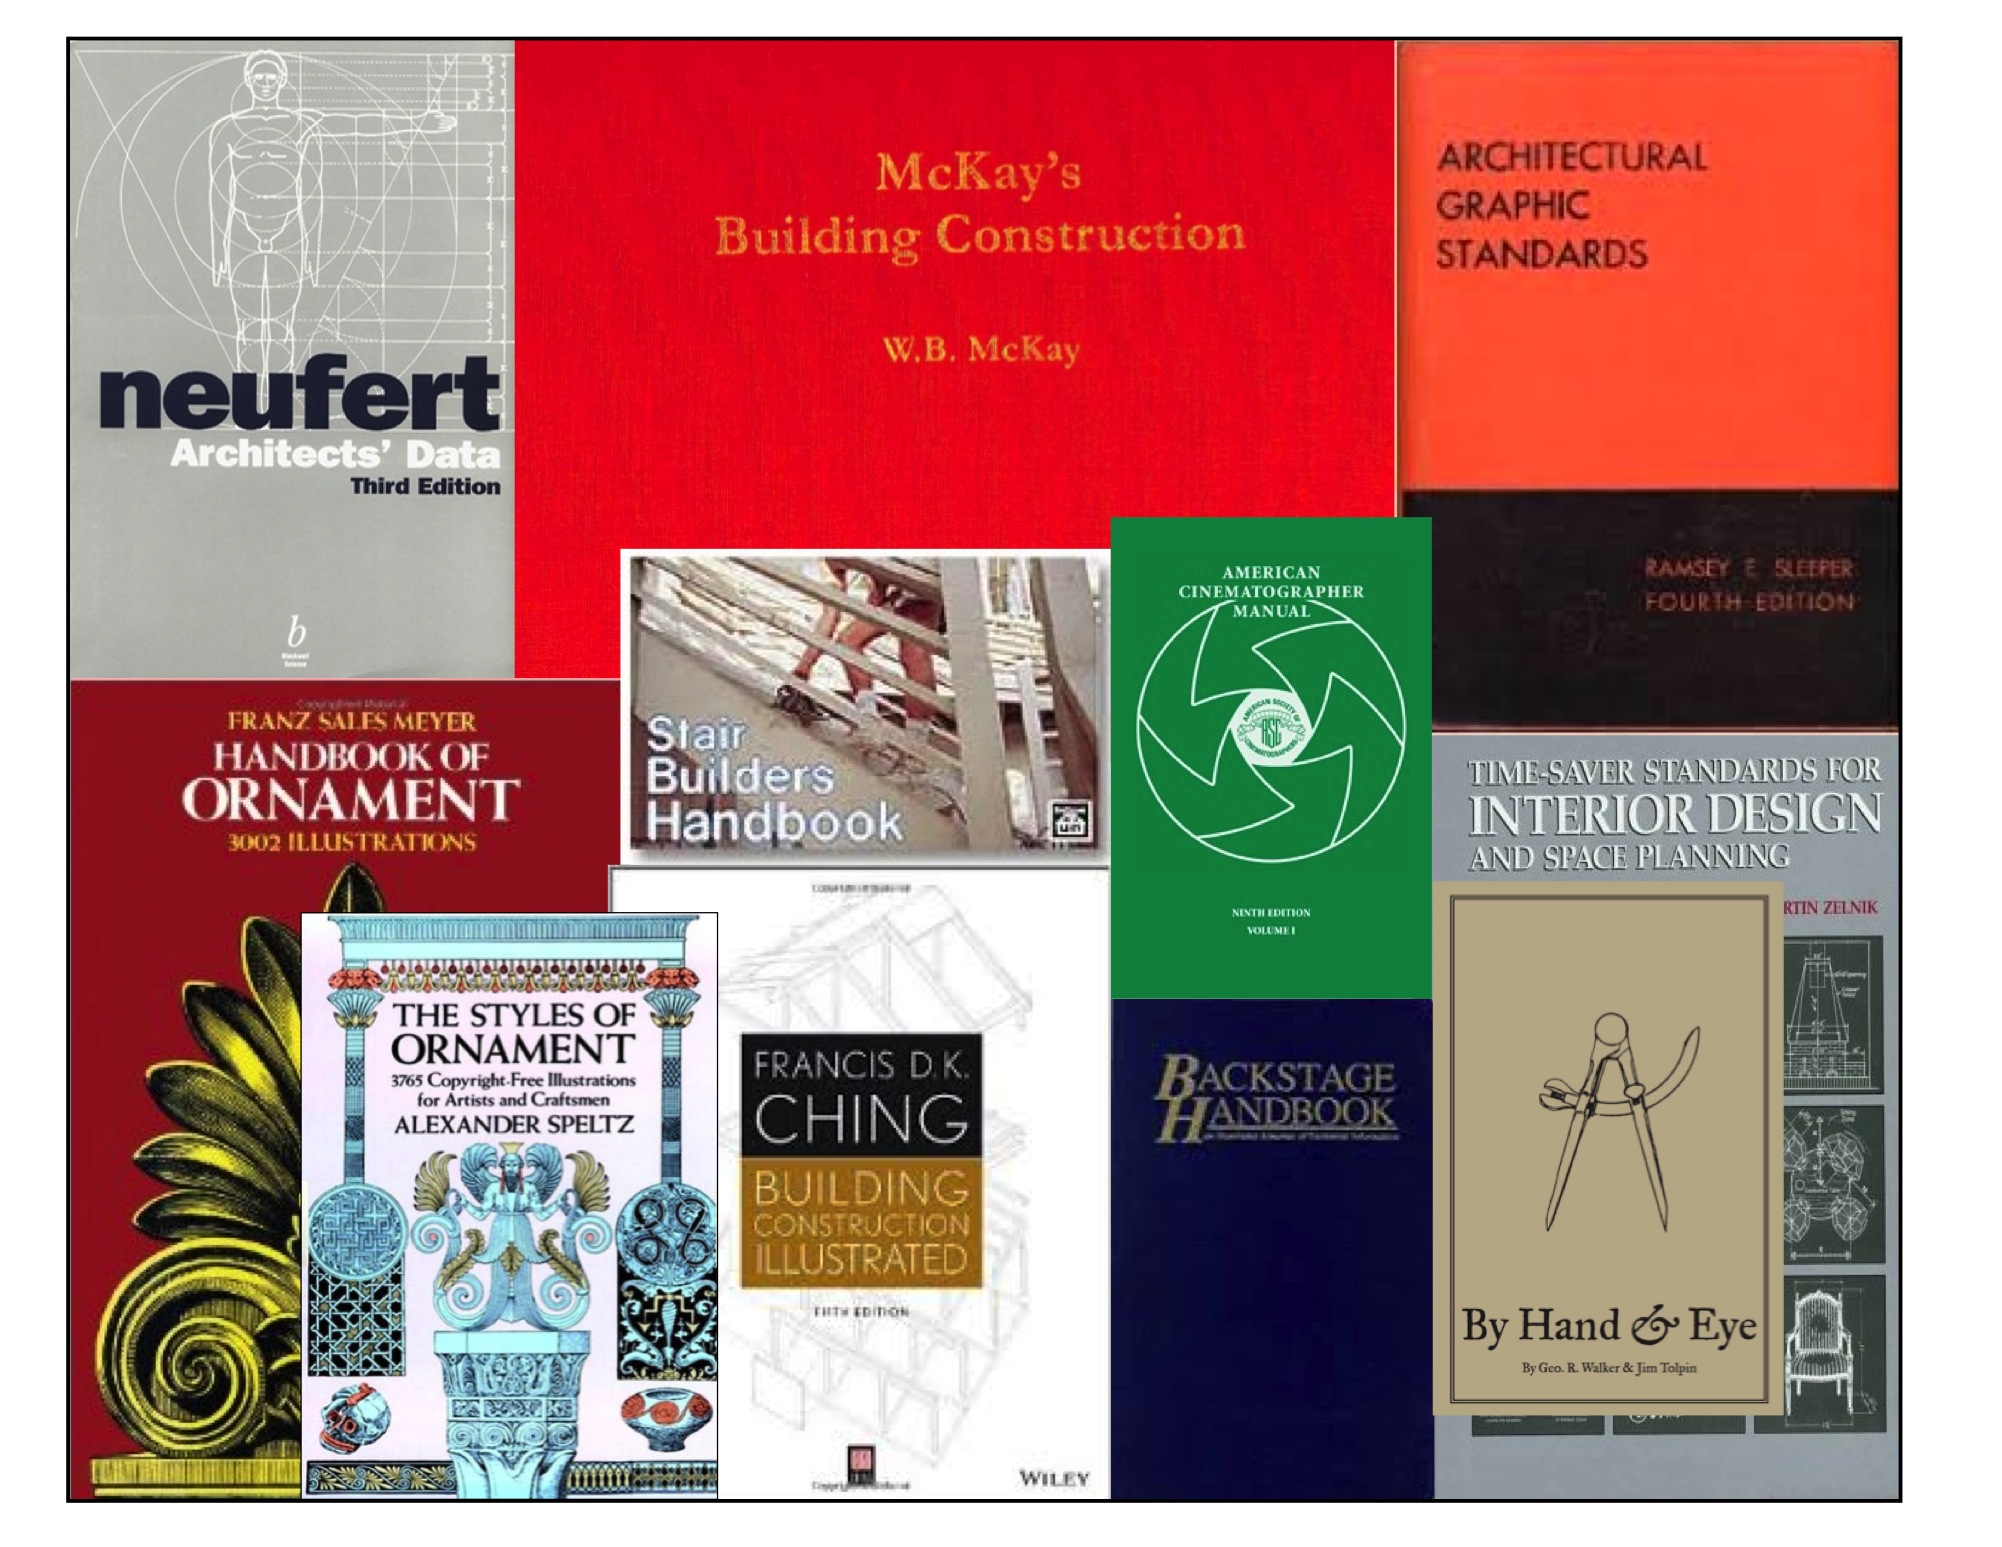
1. Architectural Graphic Standards – 5th Edition –

This was when the books were filled with great hand drawings and actually showed you in detail how things were built. There are lots of period details as well. Out of print for over 50 years, (at least in this edition) you can still find copies for anywhere from $20 to $200. The 3rd edition would be a suitable replacement. the first edition is also good to have and has been reprinted several times. Check Abebooks for copies. Not available digitally.

If you are in Great Britain, McKays is the closest equivalent, and is actually superior in a number of ways from our standpoint as set designers. On the Continent, an older copy of Neufert’s is a must. See this earlier post for details. Not available digitally.

___

Another option in England is Period House, by Jackson & Day, which goes into extensive detail about common interior architectural elements for restorers. In Germany, the best book on period construction I’ve found is Konstruction Und Form Im Bauen, by Friedrich Hess. There are lots of very nice drawings and measured details. It’s long out of print but you can still find copies second-hand. In Sweden, an excellent book on traditional construction is Stora Boken Om Byggnadsvård, by Göran Gudmundsson. This is a current book and still in print. In Italy, a nice book on traditional construction techniques with detailed drawings is  Il Legno e L’arte Di Contruire Mobili e Serramenti. None are available digitally.

***********************************************************************

2. Time-Saver Standards for Interior Design and Space Planning, 2nd Edition.

This is the interior design complement to Architectural Graphic Standards and covers nearly every situation regarding building interiors. You can find used copies for around $50. There is a digital version available but it’s not only difficult to navigate because of the size of the book but at the price you’d be better off getting a hardback edition.

Another companion to this is a nice slim book that is for kitchen and bathroom standards in the U.S. The NKBA Kitchen & Bathroom Planning Guide was created to make common building codes and layouts available to designers in an easy to use format.

*********************************************************************

3. Styles Of Ornament – Alexander Speltz.  

Originally published in 1904, this book uses over 4000 drawings to illustrate 6000 years of historical design. As a general design reference I don’t think it has an equal. Architecture, furniture, text, carving, metalwork are all covered. A must-have. About $20 new.

The Handbook Of Ornament by Franz Meyer would be a close second. Available from a number of publishers for as little as $10. A digital version is available.

Low Budget Option- download the online PDF here.

******************************************************************

4. The Stair Builder’s Handbook – T.W. Love –

Not a design book, but a book of rise-and-run tables that make stair layout a breeze. Available from various sources for about $20.

Low Budget Option – download the PDF Common Sense Stairbuilding and Hand-railing. Skip the mind bending section on handrail layout and skip to page 99. Also, Stair building, which has a nice section on ornamental ironwork.

*******************************************************************

5. Backstage Handbook – Paul Carter.

Originally a technical manual for theatrical designers, the book is full of great information for film work as well. There are more details in this earlier post from several years ago. It is one of the most widely used books on stagecraft in the U.S. Available from Broadway Press for about $22. No digital version is available.

********************************************************************

6. Building Construction Illustrated – Francis Ching.

An excellent and thorough book about construction details including wood framing systems and masonry. About $46.

Low Budget Option – access the online PDF here of the 4th edition.

********************************************************************

7. The Classical Orders of Architecture – Robert Chitham

I think this is the best modern book around that deals with the classical architecture proportional system. This book was out of print for quite a while and fortunately is back in print. The new edition deals with the proportions for both metric and Imperial systems. Copies can be found for about $55.

Low Budget Option – Get the PDF of American Vignola by William Ware and The Five Orders by Vignola.

*********************************************************

8. Illustrated Dictionary of Historical Architecture – Cyril Harris

With over 5000 terms and 2000 line drawings, this book covers architectural history from the ancient period to 20th century Modernism. Along with the European styles, it covers Japanese, Chinese, Indian, Islamic and Mesoamerican styles. About $35 from various sources.

Another classic book in a similar vein is A History of Architecture On The Comparative Method, by Sir Banister Fletcher. This dense, fully-illustrated book covers the time periods from ancient times to the 20th century, focusing on Western culture. It was the most widely used general architecture reference book for decades.

Used copies are easy to find for around $20. A good scanned copy of the 1905 edition can be found in PDF form here for download. Avoid reprints. Most of them are badly scanned from originals and the fine details of the illustrations is lost. A 20th edition has been published in two volumes that comes in at over 1600 pages and includes new sections on cultural architecture from countries not fully represented in the original edition. This runs at around $250.

******************************************************************

9. Elements Of Style – Edited by Stephen Calloway

This has been a standard Art Department reference manual for quite some time. Subtitles as “a practical encyclopedia of interior architectural details”, the book covers the periods from 1485 to modern day. Each chapter covers a different time period and is separated into thirteen sections which each feature an interior element, making it easy to cross reference similar elements from other time periods. The book includes over 3000 drawings and 1300 photographs to accompany the written analysis. In hardcover for around $75. Used editions can be found for as little as $20.

******************************************************************

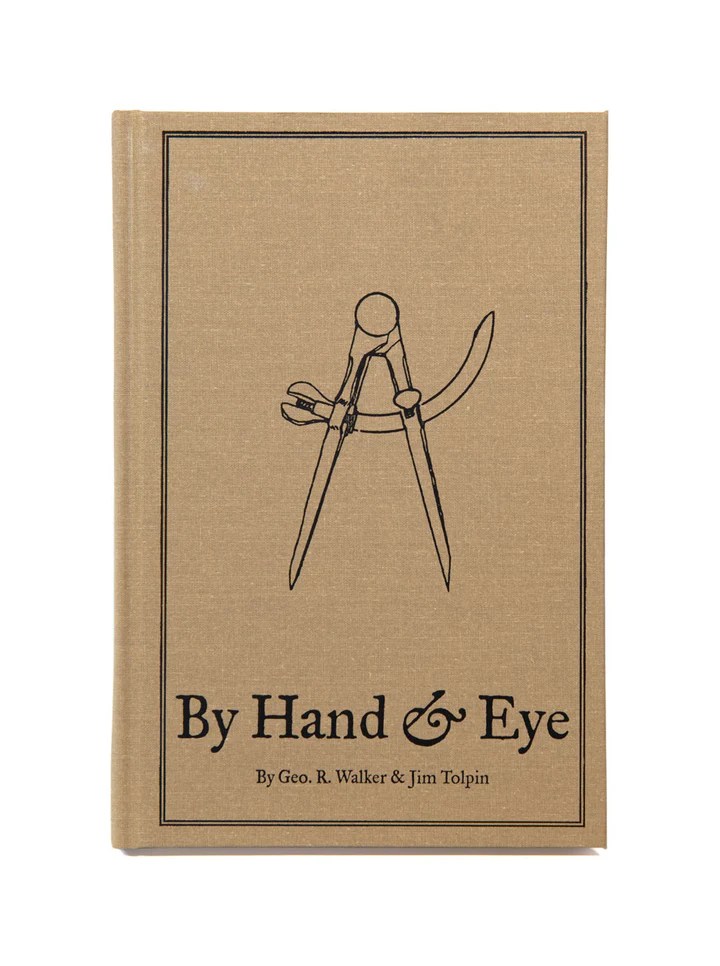
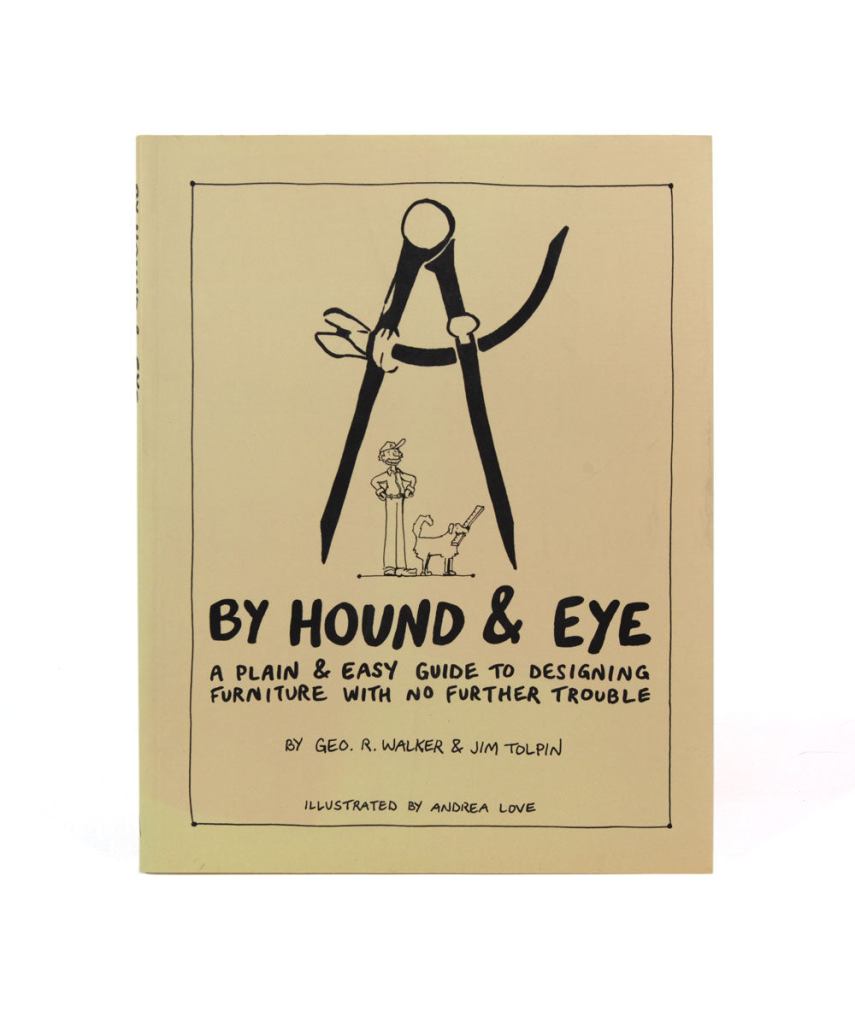
10. By Hand & Eye – George R. Walker & Jim Tolpin.

If you’re just starting out in set design this is one of the first books I’d tell you to buy. Bad proportions can ruin a design. This book will give you a solid understanding of proportion and keep you from making simple mistakes. You can download a sample chapter here. Also, I wrote a longer post on the book earlier. Walker and Tolpin are promising a workbook that will come out later this year based on the book’s concepts so look for that. Available from Lost Art Press for $51, hardbound. A PDF is available for $24.

*******************************************************************

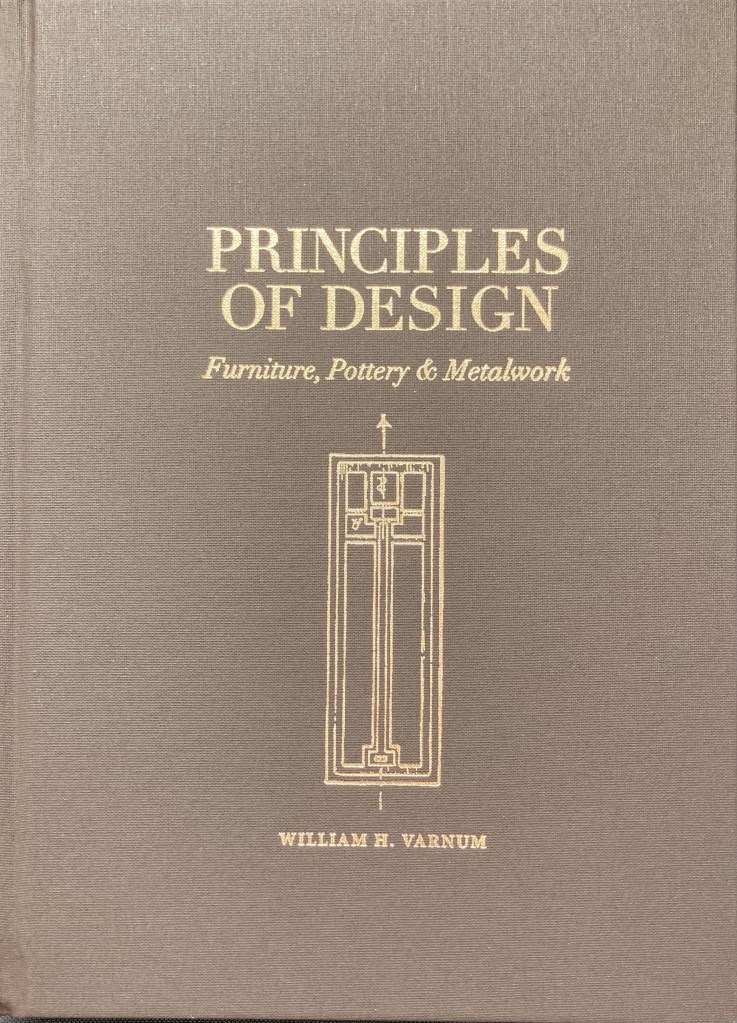
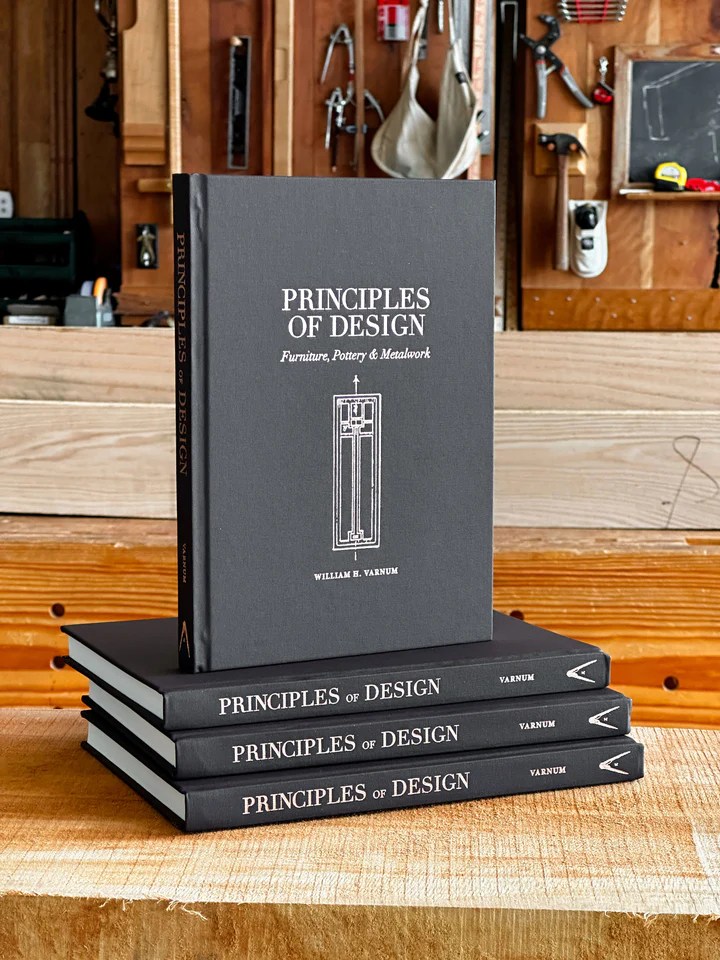
11. Principles Of Design – William Varnum

This is a recent reprint of a book published in 1916 under the title Industrial Arts Design. The book lays out the basics of design, with step-by-step rules for designing not just furniture but pottery and metalwork as well, with sections on enriching a surface with detail or hardware. The rules translate easily to architectural forms and will seem like obvious, common-sense choices once you are exposed to them. This hardback edition is the second run of a limited printing. By Lost Art Press at their website. Hard cover edition is $41.

*****************************************************************

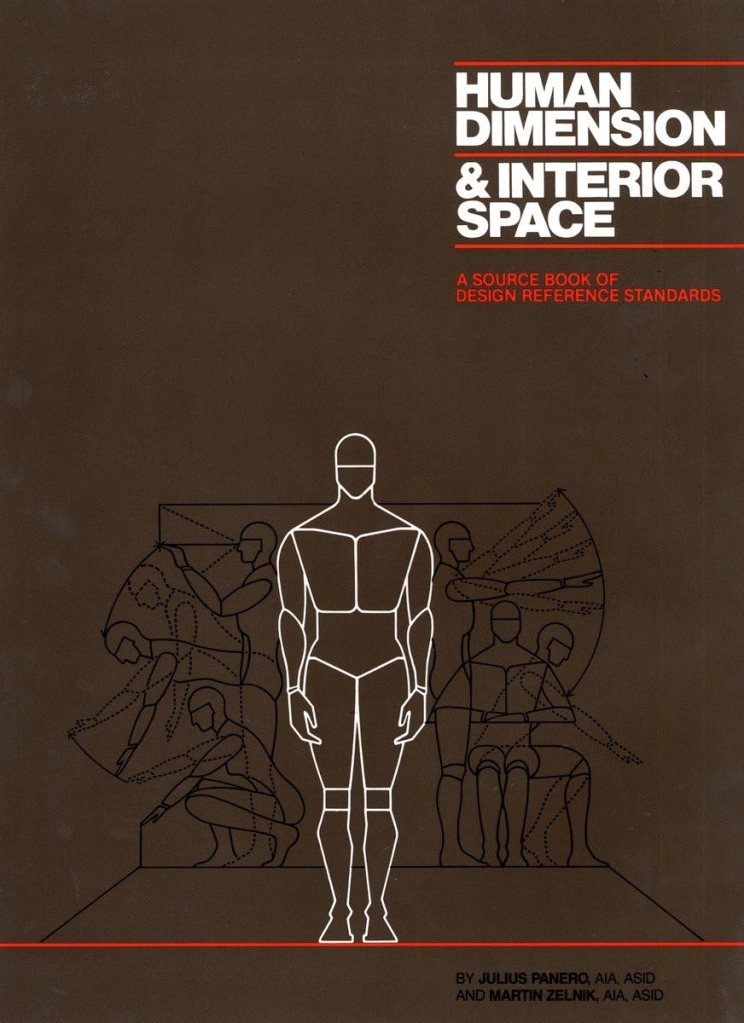
12. Human Dimension & Interior Space – Panero & Zelnik

This book explains the science of anthropometrics, which is the study of human body measurements on a comparative basis. Whether you are designing interior elements, furniture, or vehicles, this book will help you create those spaces with easy to read diagrams and charts that detail the huge disparity in shapes, sizes, and capabilities of the human form. The authors warn against designing for a ‘standard size’ human body which in fact, does not exist. New in hardcover at about $24. Digital versions are also available.

*****************************************************************

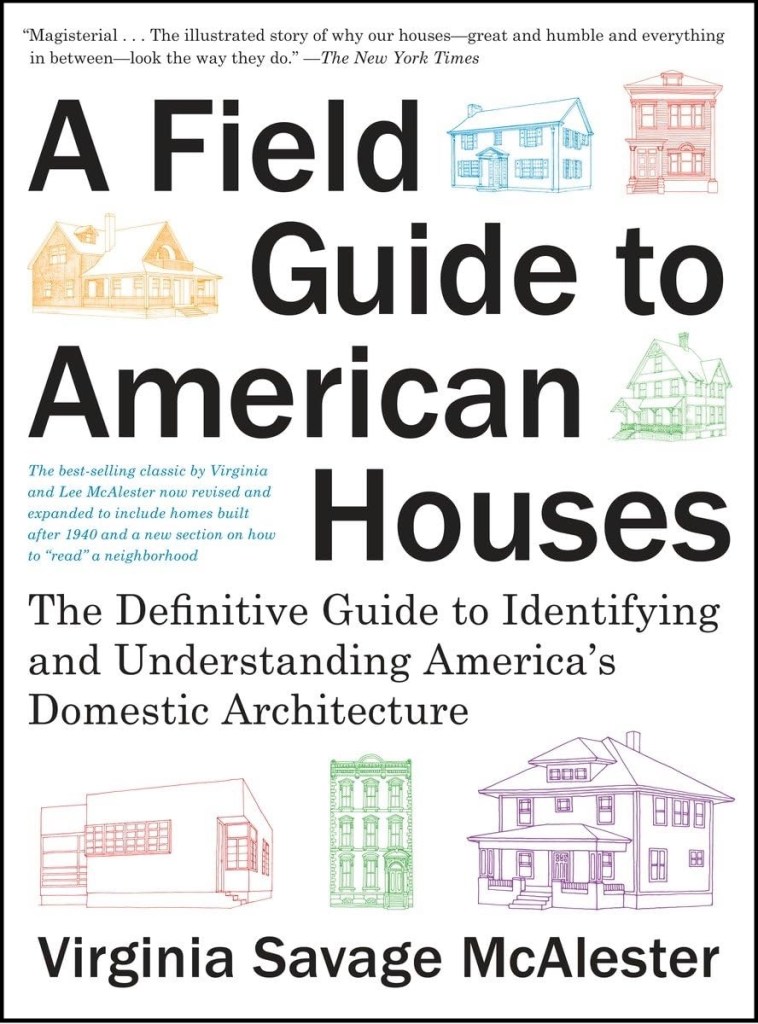
13. Field Guide To American Houses – Virginia Savage McAlester

Described as the “definitive guide to identifying and understanding American domestic architecture”, this book is considered an essential source for understanding the myriad of styles and elements that define American houses. With over 1000 drawings and photographs, the book separates the various styles into chronological categories and explains the details and accents that define each of them with clear, simple sketches. The second edition is about $24 in paperback.

****************************************************************

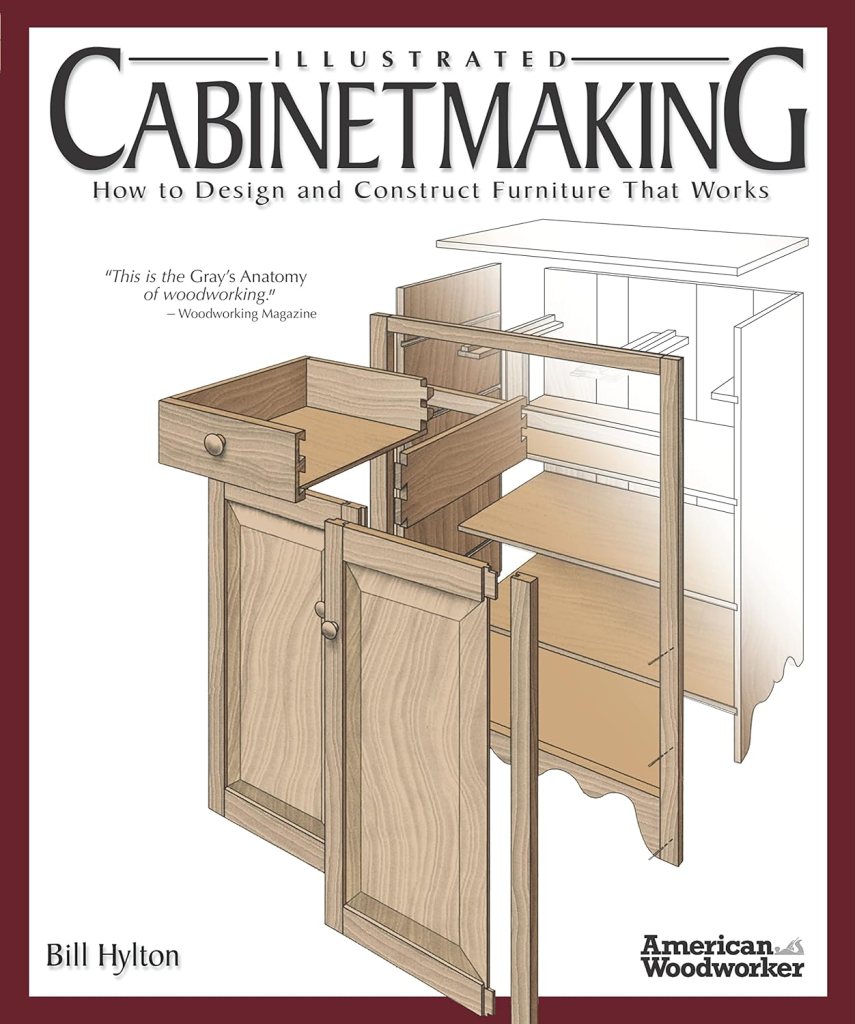
14. Illustrated Cabinetmaking – Bill Hylton

I covered this book in detail in an earlier post. One reviewer referred to this book as the Gray’s Anatomy of woodworking, and that’s a pretty accurate description. If you’re going to design furniture you need to understand how it’s built, and this book explains it with over 1300 color illustrations and exploded views of 90 different pieces of furniture from different time periods. There are sections on joinery, standard dimensions, and sources for construction drawings. Paperback editions are about $24. Digital editions are also available.

***************************************************************

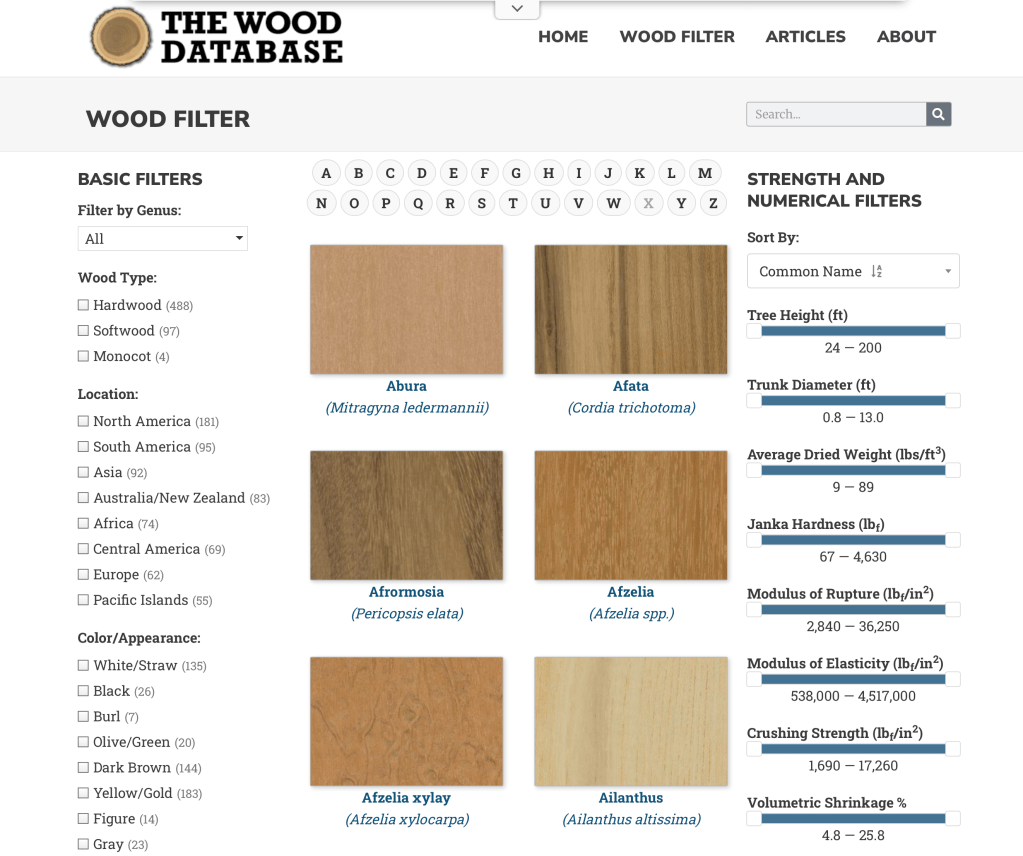
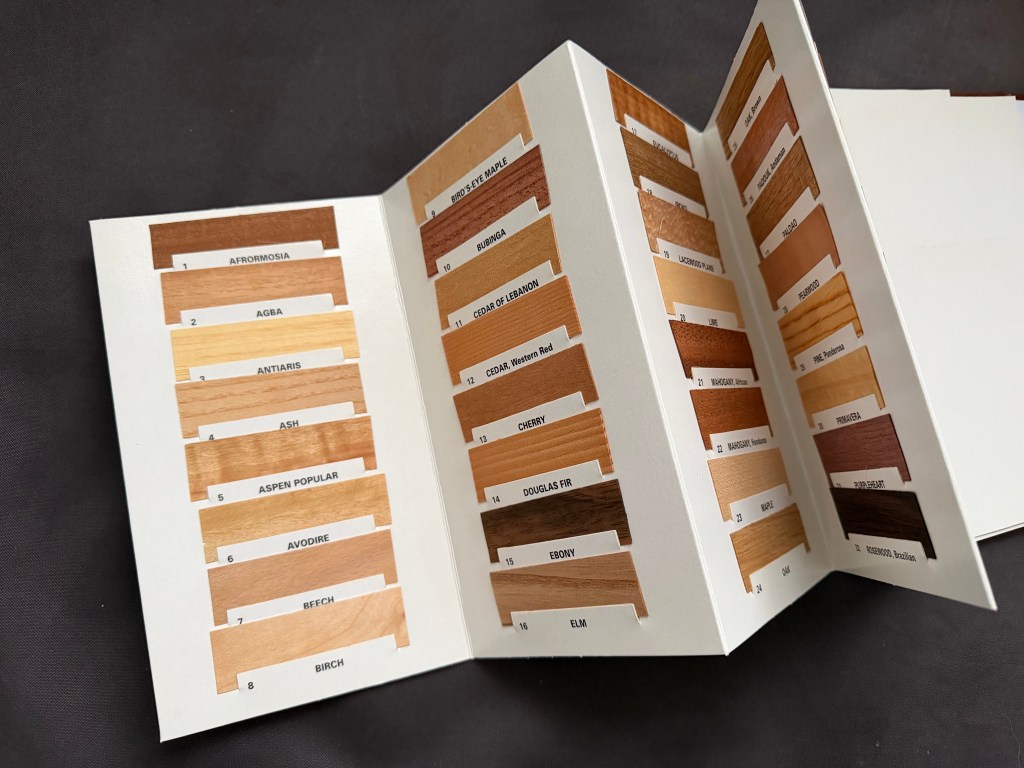
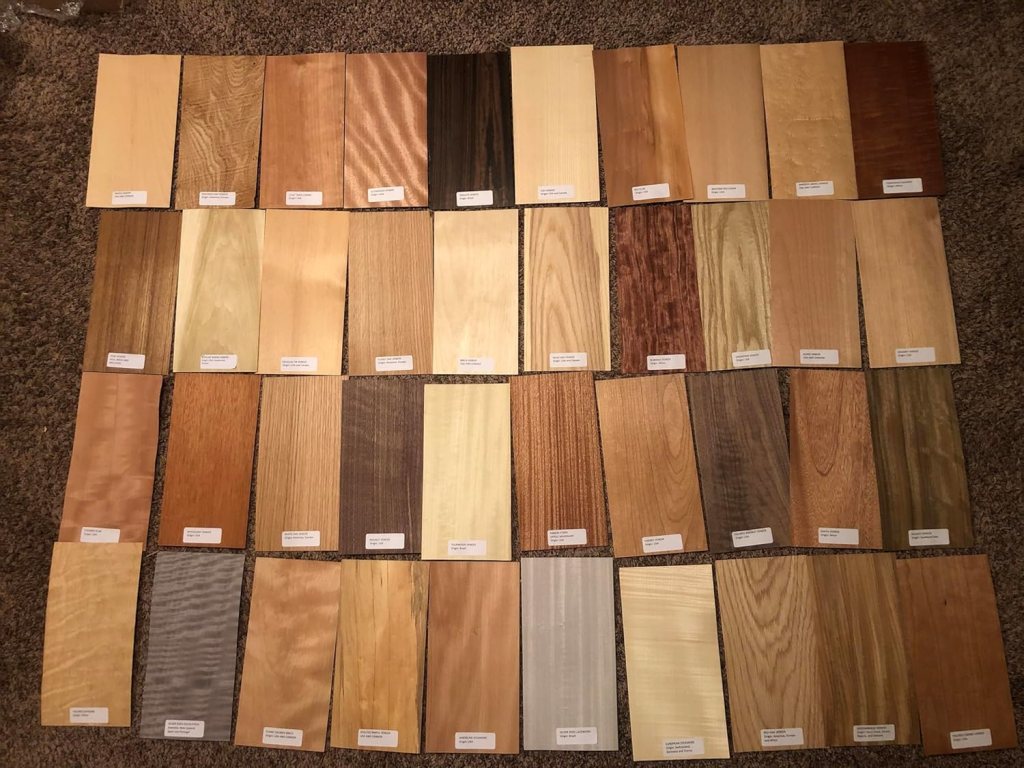
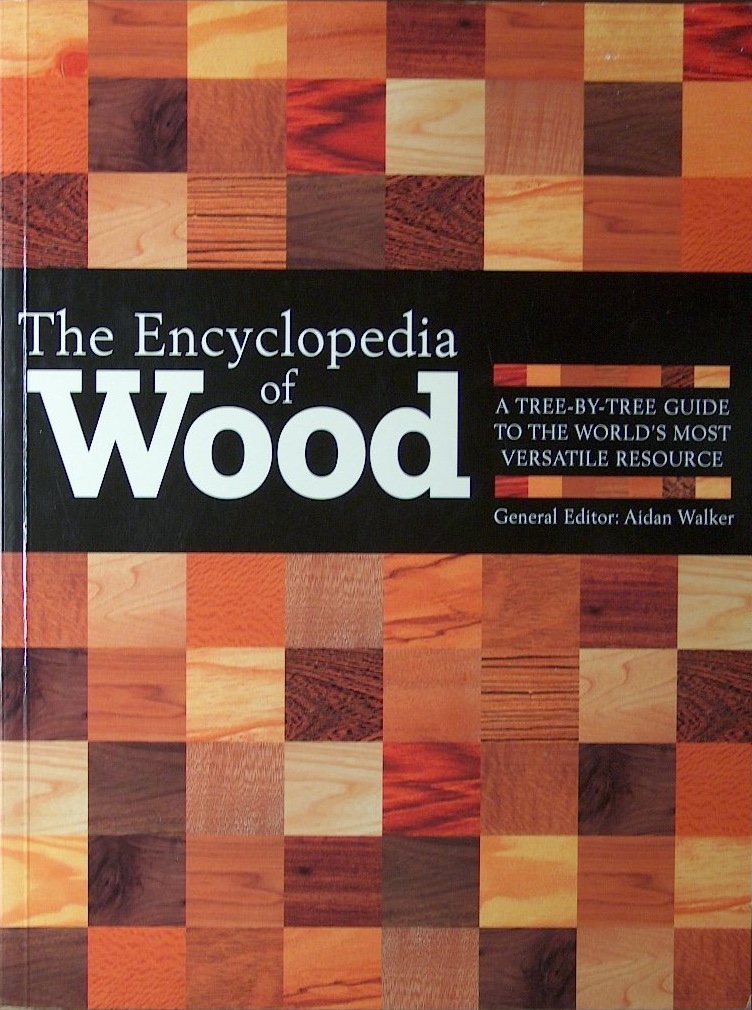
15. The Encyclopedia Of Wood – Aidan Walker, Editor

There are numerous books on tree identification but this one stands out to me because of the variety of wood that it covers and the large, clear color photographs of each of 150 species grain patterns and figure. There are also chapters on how wood is processed, what wood movement is, and how veneers and lumber are milled. In paperback for about $35.

***************************************************************

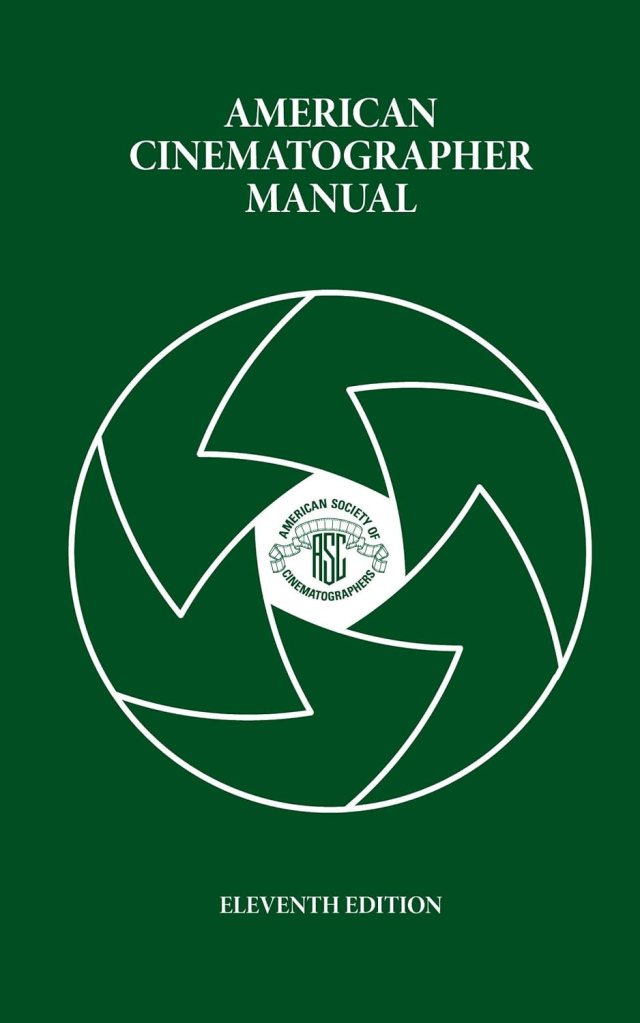
16. American Cinematographers Manual – American Society of Cinematographers

The new 11th edition will cost you about $120 in hardback and almost the same in it’s digital version through the iTunes and Android sites. Earlier used editions can be purchased for a third of the price of a new edition, but much of the latest technology isn’t in them. This is the go-to book for all things dealing with cameras and image capture. A lot of people will tell you you don’t need this. I’m sure you might also have a great career as a car designer without knowing anything about how cars work. Because when it comes down to it, all we’re really doing is designing big, pretty things to bounce light off of. Just remember, if the department names were based on physics we’d be the Light Reflector Design Department.

 *************************************************************

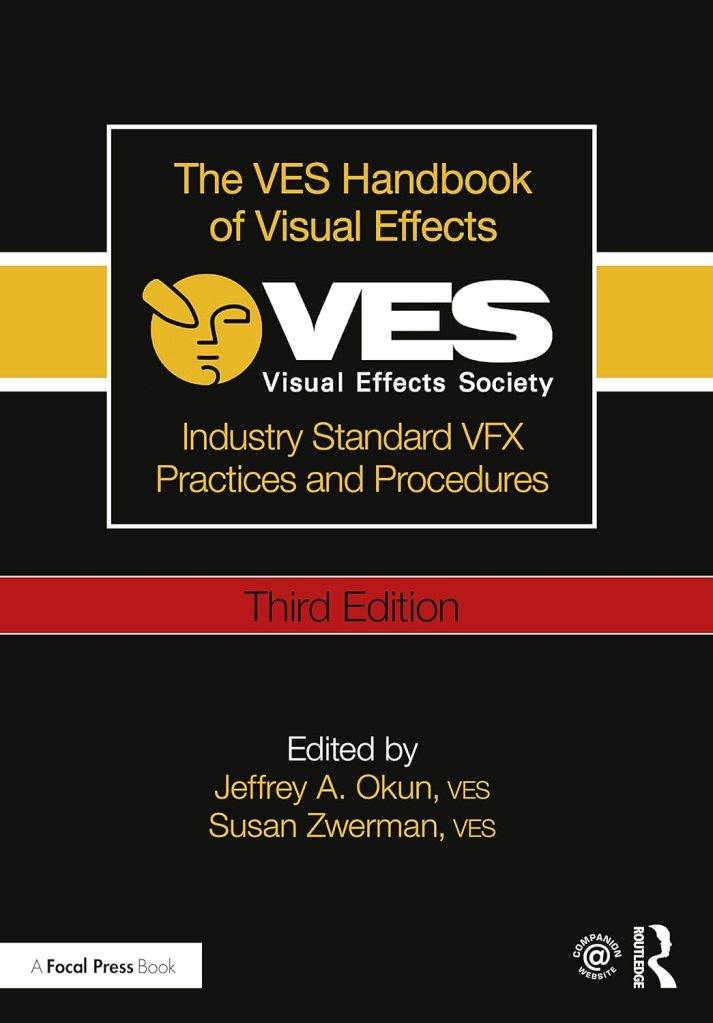
17. The VES Handbook Of Visual Effects – Okun & Zwerman, Editors

Published by the Visual Effects Society, this +1000 page book covers every type of visual effects shot you will encounter. From in-camera effects like miniatures and mechanical effects to green screen work, motion-tracking, LIDAR, tracking shots, LED wall stages, and everything in between. It’s the most complete book on visual effects that has been produced so far. Consider it to be a complementary reference to the American Cinematographers Manual. In paperback, the new third edition costs about $65.

***************************************************************

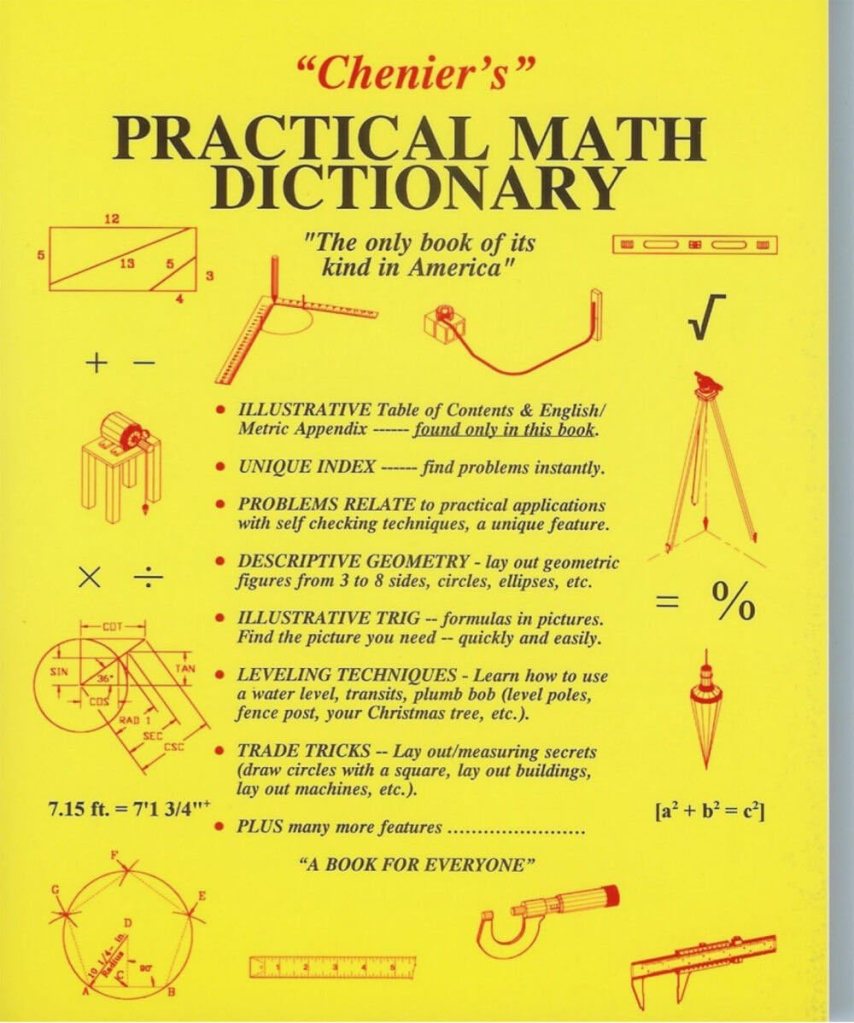
18. Chenier’s Practical Math Dictionary – Norman Chenier

This book is an odd duck in many ways but it has been a real time saver on a lot of occasions. There are sections on descriptive geometry, survey and layout techniques, solutions to common math problems, and other information that you’ll struggle to find anywhere else. In paperback, the latest edition is $26.

Design Gifts For The 2024 Holidays

Jeesh, it’s been ten years since my last gift guide and I’m getting it out a little late this year, but some of the same items are still here on the list, mainly the classic tools and books that never become obsolete, (like a lot of software programs do).

I don’t receive any money from these recommendations. These are books and tools that I own and use often.

My Must-Have Tools For Film Designers

FastCap Flat Back Tape – You can not only measure round or curved surfaces but it has a blank area to write on for use as a story pole. – $10.00

Keson Pocket Rod – These are so essential for site surveys that I have four of them. They come in Architect and Engineer models. – $20.00

6″ Digital CalipersLike these, there are many manufactures. (Avoid any priced under $20.00.) – Must-have tool for doing photo scaling (see article) – about $24.00

Equal Space Dividers – great for not only photo scaling but for designing in general. They run the gamut in price from these to these. $220 to $24.00

True Angle – Multi-use tool for measuring and transferring angles. lightweight. – 12″ -$16.00

Angle Template Tool – Various manufacturers – around 18.00

ChromaLabel Adhesive Measuring Tape – Great for when you don’t have time to measure everything and have to rely on photos of surveys – $16.00

GraphGear 1000 – Mechanical pencils, my new favorite brand. These are great because the barrel sleeve retracts into the pencil to protect it. Comes in .3, .4, .5, .7, and .9mm leads. About $9.00

Compass – So many to choose from, (and a lot of crappy ones are in the mix). This one is a good all-around basic, practical compass that will last a while. $14.00

Design Books

Lost Art Press Books

Still my favorite design and furniture book publisher. Here are my recommendations:

By Hand & Eye – $51.00. Another gem from Lost Art Press, this is probably one of the best design books written in the last 100 years. It outlines the world of design without a rule and using only dividers and proportional methods. I covered this in a previous post and always recommend it. Buy this and a good pair of second hand dividers from Ebay and you will completely change the way you think about design.

By Hound & Eye – $31.00. A companion workbook to By Hand & Eye.

Principles Of Design – $41.00

The Anarchist Design Book – $54.00

Other Books

Historic Millwork – Brent Hull

A Field Guide To American Houses – Virginia Savage McAlester

Stair Builders Handbook – T.W. Love

Backstage Handbook – Paul Carter

American Cinematographers Manual – ASC Press

The VES Handbook of Visual Effects – VES Society

Designer Drafting For The Entertainment World – Patricia Woodbridge

The Classical Orders Of Architecture – Robert Chitham

Illustrated Cabinet Making – Bill Hylton

Styles Of Ornament – Alexander Speltz

McKay’s Building Construction – W.B. McKay

Neufert – Architects’ Data – Granada Publishing

Geometry Of Design – Kimberly Elam

Really, Really Last Minute Gifts

When you realize you’ve really screwed up and forgotten someone and have no time to run to the store, much less order anything, you can always gift a good app.

Log onto the Apple or Android store and gift your so-important-you-forgot-about-them friend one of these apps and your reputation will be saved:

I own and can recommend all these apps.

BuildCalc – construction calculator – $24.99

Photo Measures – saving and sharing measurements – $6.99

MagiScan – Turns your phone into a 3D scanner (pay per use) ( I have used this a lot)

CamToPlan Pro – Uses AR to turn scans into measured drawings – $39.95

Theodolite – Just like a real theodolite but for your phone (fantastic) – $8.99*

Pocket Laser Level – Laser level for smart phones – free

Artemis Pro – professional director’s finder (Most used digital directors finder) – $29.99

Helios Pro – Sun and Moon calculator (fantastic) – $17.99

pCAM – camera info calculator – $29.99 *

Lens Lab – Depth of field app, shows you a visual representation – $1.99*

Sun Surveyor – sun and moon calculator – $9.99

I.D. Wood – samples and data for 200 kinds of wood – $9.99

LensKit – lens technical data – in-app purchases – subscription *

* iOS versions only

Online Design Classes

I have to get a plug in for our own classes at Wrand.

All the classes are 30% off until December 25.

What Just Happened? The Psychology Of Film Scenery

“Every scene you will ever act begins in the middle. . . .” Michael Shurtleff

The casting director Michael Shurtleff wrote a book called “Audition”, which is a kind of roadmap for actors to use when preparing to try out for a part for a film or theatrical play. It lays out the basics of determining the psychological elements of a scene, even if the actor has only been given a single page from the script.

(An aside: if you really want to understand script breakdown, take an acting class. It will give you a new appreciation of actors too. Do that one better and go out for an audition, and then imagine doing that a dozen times a week for the rest of your career.)

One of the Guideposts in the book is titled, The Moment Before. Shurtleff explains that a scene always starts the middle of a situation. It’s the actors job to figure out what events came before, because a lot of times that information isn’t in the script. A general outline might be there but the small details are missing.

What just happened?

With films, a lot of the ‘personality’ of a set is the work of the Set Decorator. They give life to the structure of the scenery, and it’s a big reason why they share Oscar and Emmy awards with the Production Designer.

But you can only put so much lipstick and mascara on a goat, and if the sets ‘bones’ aren’t great, something big will be missing.

What does your set say about itself once the construction and paint crews are finished, before the set decoration crew even starts?

What happened in this room a week ago? A year ago? Twenty years ago? Was the house built before the development of modern plumbing? Do the mouldings indicate that it was built before electric power was available, and the “new” type of special moulding now hides the wires that snake along the baseboard and up corners of the room?

Once the set is dressed and filmed, are there elements that will stand out or tell a story about the “envelope” beyond the dressing?

When I look at empty houses I always look for the signs of past human lifetimes. Most buildings will survive 4 or more owners, or generations. They all have their scars from surviving their inhabitants; the bad remodels and additions that don’t match, bad repair jobs or damage that was never repaired.

I got to tour a historic house from the 1830’s that was built in the Greek Revival style and was shocked when I saw the front parlor room. The second owners wife was tired of the classical design and had the room renovated in the then-current 1890’s late Victorian “Eastlake” style. The contrast couldn’t have been more odd if they had redone the room in a Mid-Century Modern style.

The historical society who owned the house decided that the Victorian remodel of the room was part of the history of the building and voted to not return the room to its original configuration. It may have not been ‘true’ to the origins of the house but it defined the ‘human experience’ that the home had gone through. It was some of the ‘finger prints’ that its inhabitants had left behind.

This is a photo of a door in a friends families 900 year old Castello in Northern Italy. I wondered about the deep gouges in the upper panel and they told me that they were a remnant from several hundred years before during a hasty removal of a carved crest that hinted at support of a then out-of-favor monarch.

The details of a set don’t have to be that subtle. It could be a bricked up window, a stairway in an odd but obviously not original location. or maybe the wallpaper in a room is torn in one corner, revealing three other layers behind it, or there are scorch marks on the wooden kitchen floor in front of the stove where a red hot cast iron skillet was dropped.

The ‘character’ can certainly come from the paint and age that the scenics apply and sometimes there is even more you can add. One person told me about arriving on a stage set one day for a shoot in a period kitchen set to find the Production Designer Dean Tavolaris bending over the tile counter with a one pound can of Crisco shortening, rubbing handfuls of the stuff in the corners and between the sink and stove.

Actors will often create past stories of their characters for themselves to help them flesh out the role that will give them personal emotional substance to draw on for their portrayal. This is information just for themselves and a lot of times they don’t feel the need to share it with anyone else, but it gives their performance extra ‘bones’.

As a designer you can do the same with a set. You can create the environment’s past lives that may have nothing to do with the story in the script but it will give it a reality that will make it feel like it hasn’t just materialized suddenly out of thin air, which, as scenery, it pretty much has. We think of spacecraft as modern, sterile environments that don’t have much character. Star Wars changed all that with some spacecraft that were past their expiration date and bore the marks of abuse and mechanical failure. It made them more lifelike and less like machines.

Whether you share that ‘history’ with anyone else is entirely up to you, but if you can tie it into the story or at least make it an interesting part of the design, it can help you sell your ideas to a director who will most likely appreciate that you are bringing a depth to the film that they hadn’t thought about.

That work will come from really analyzing the script, and there isn’t always a lot of time to do that. But, you can learn shortcuts, and that’s a whole other blog article.

For starters, I suggest these: Audition, by Michael Shurtleff, and the chapter on script analysis in Directing Actors, the first book from my absolutely favorite directing teacher, Judith Weston.

International Production Design Week – October 20 – 29

This is the first day of the International Production Design Week events that have been organized and curated by the Production Designers Collective, an international group of Production Designers whose mission is to be a hub for designers from around the world and to elevate the profession by bringing awareness and acknowledgment of the craft of art direction around the world to the public’s awareness.

The nine day series features nearly 200 seminars, exhibitions, meetups, tours, and lectures with acclaimed Production Designers from 27 countries. Some of the events are presented online for viewing from anywhere while others are held in specific sites for a live audience.

Here is the link to the schedule of events which is searchable by day, city, language, and event category.

https://productiondesignweek.org/program/

Here are some of the planned events. See the website for a full list of events.