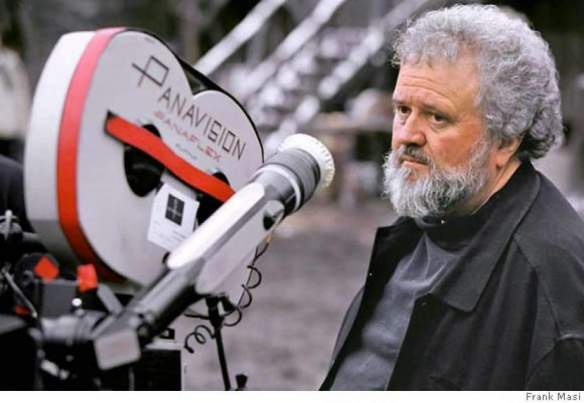
Allen Daviau, the five-time Academy Award-nominated cinematographer of films such as E.T. The Extra-Terrestrial, Empire Of The Sun, Avalon, Bugsy, and The Color Purple, passed away on Wednesday from complications of COVID-19. In 2007 he was given a Lifetime Achievement award by the American Society Of Cinematographers.
His professional film career began in the 1960s where he started out shooting documentaries, music videos and working as a still photographer. He met a young Steven Spielberg in 1967 and helped him shoot his short film, Amblin’. Years later Spielberg was in pre-production for ET when he saw a reel of a TV movie Allen had shot and hired him immediately.
Whenever I saw him, Allen was always personable and kind but it would be a mistake to take him for a pushover. He and a number of others were frustrated when they were denied membership to the cinematographer’ union. Universal had tried to sign him to a contract but the union was a closed-shop in all but name at that time and refused to allow it. Daviau and a number of other cinematographers including Caleb Deschanel filed suit to join the union and were finally admitted.

I only got to work on one picture with Allen, A feature called The Astronaut’s Wife, production designed by Jan Roelfs. He was outgoing and approachable, always eager to talk shop. There are times when you work with individuals that you hold in such professional esteem that the initial interactions are awkward but that was never the case with Allen. I didn’t get to ask him all of the questions I had buzzing in my head about his other films. I refrained from ‘interrogating’ him the way I had once done to Werner Herzog when I ran into him on the backlot at Warner Bros Studios in an embarrassing ‘fan-boy’ moment.
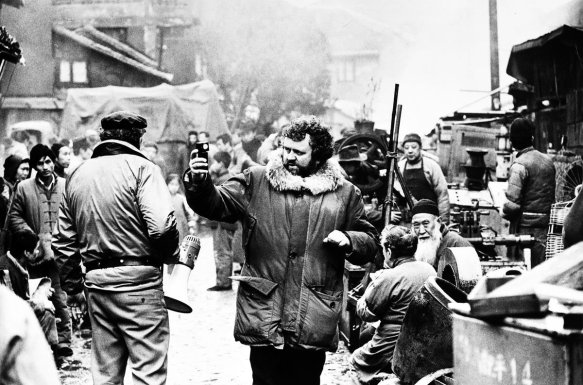
I never got to ask him about some of the shots in Empire Of The Sun that I had analyzed but I did learn two things: he didn’t like multi-camera shoots and he didn’t particularly like translites. “They’re too sharp”, he told me. Unlike the traditional handpainted backings, they had a crisp photo-quality that defied being able to create a realistic depth-of-field. Even the painted backings often had black or white bobbinet stretched in front of them to create an atmospheric softening effect. It’s ironic that now, years later, a number of companies will custom print backings to create different degrees of softness to simulate an out-of-focus image due to depth-of-field.
The multi-camera shoots were something he accepted as necessary at times but he felt that they diluted the quality of the lighting. He felt that being able to concentrate on just one composition at a time resulted in a superior product. There were lighting effects that became impossible to do effectively if you had to take other camera positions into account. He was as technically adept as he was artistic and relied on both his eye and his light meter. He knew that the audience will only see what you let them see. And being able to shoot with a single camera allows you to get away with tricks that are harder to pull off when you have to light for multiple angles at once.
A camera-lover, he told me as part of his endowment to UCLA, each year he would buy a top-of-the-line Leica and leave it unopened in its original packaging.
When he was in Shanghai on Empire, they were unable to get dailies until a week later and playback technology was a long way off. He had to rely on his light meter and his experience with the film stock to know if he had a proper exposure.
One thing I learned from him is, there are times when you have to let the details go. We were doing pick-up shots and only had a few days to recreate several parts of the sets from the main shoot. Recreating a portion of the main characters’ apartment was complicated by the fact that the backing we had used outside the huge glass window wall was unavailable.
We found a cityscape backing that was close, but overall the values and details didn’t come close enough to really match the original. I hoped that the shot would be tight enough that the DOF would hide the mismatch, but was dismayed when the director asked for a wider shot. With so many elements to consider, the backing issue was the last thing on most people’s mind . Allan was behind the camera, lining up the shot and I finally called out to him, “But Allen, the backing.” He just looked over at me and raised his hands. He could have just ignored me, or been dismissive or irritated. He just gave a little smile and said, “It’s OK, it’ll be fine.” And it was.
There is an excellent interview with Allen in the 1992 documentary film, Visions Of Light, about the art of cinematography.
R.D. Wilkins