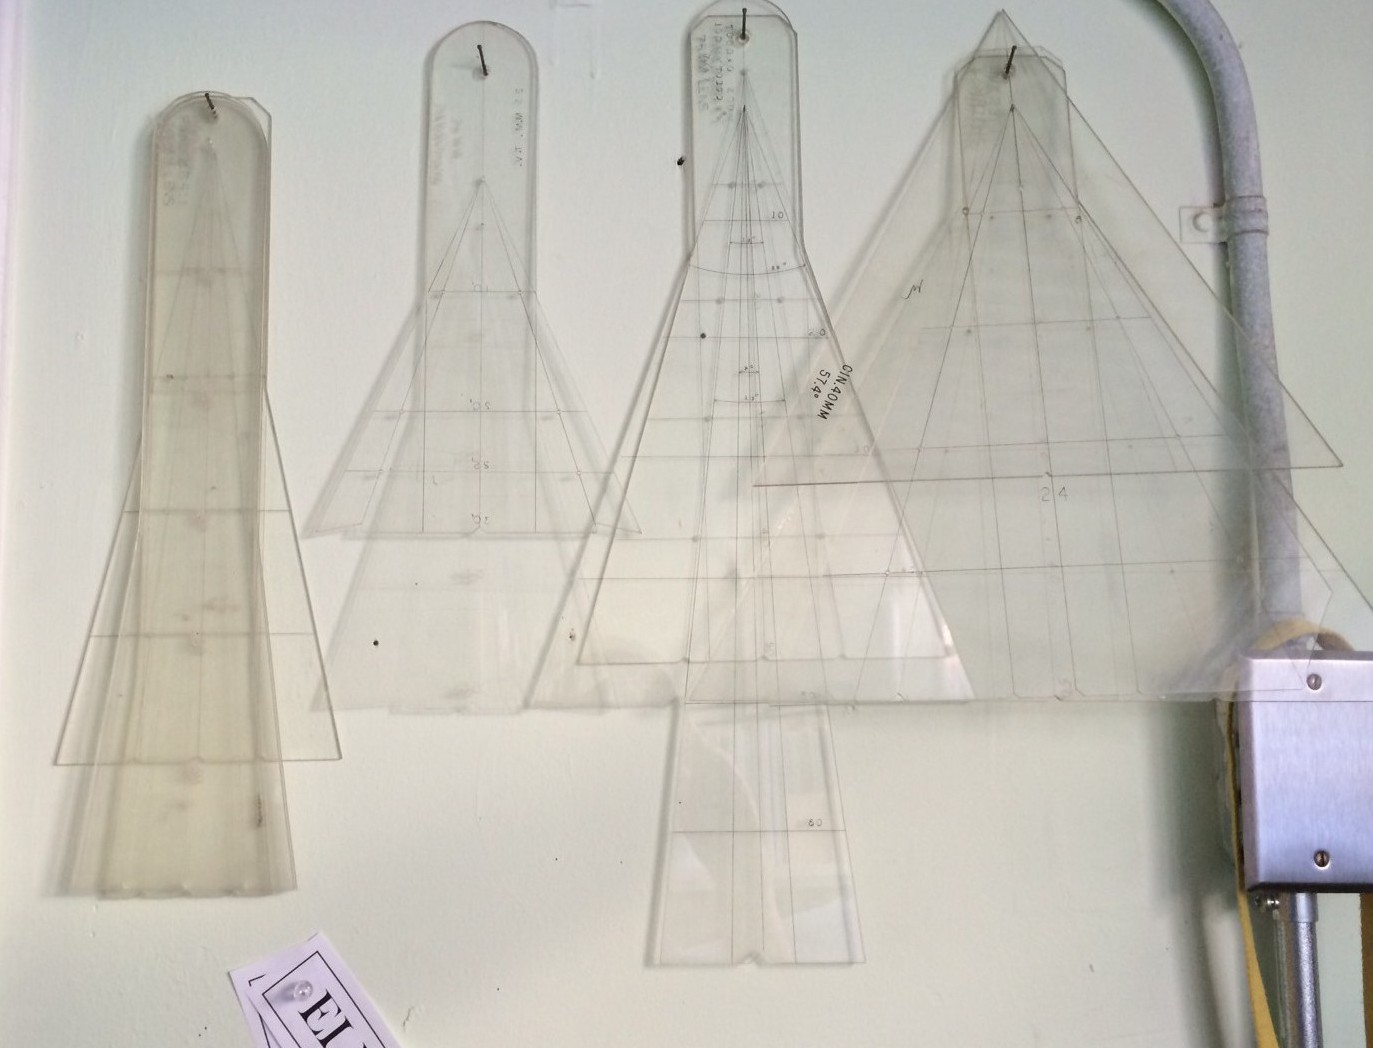
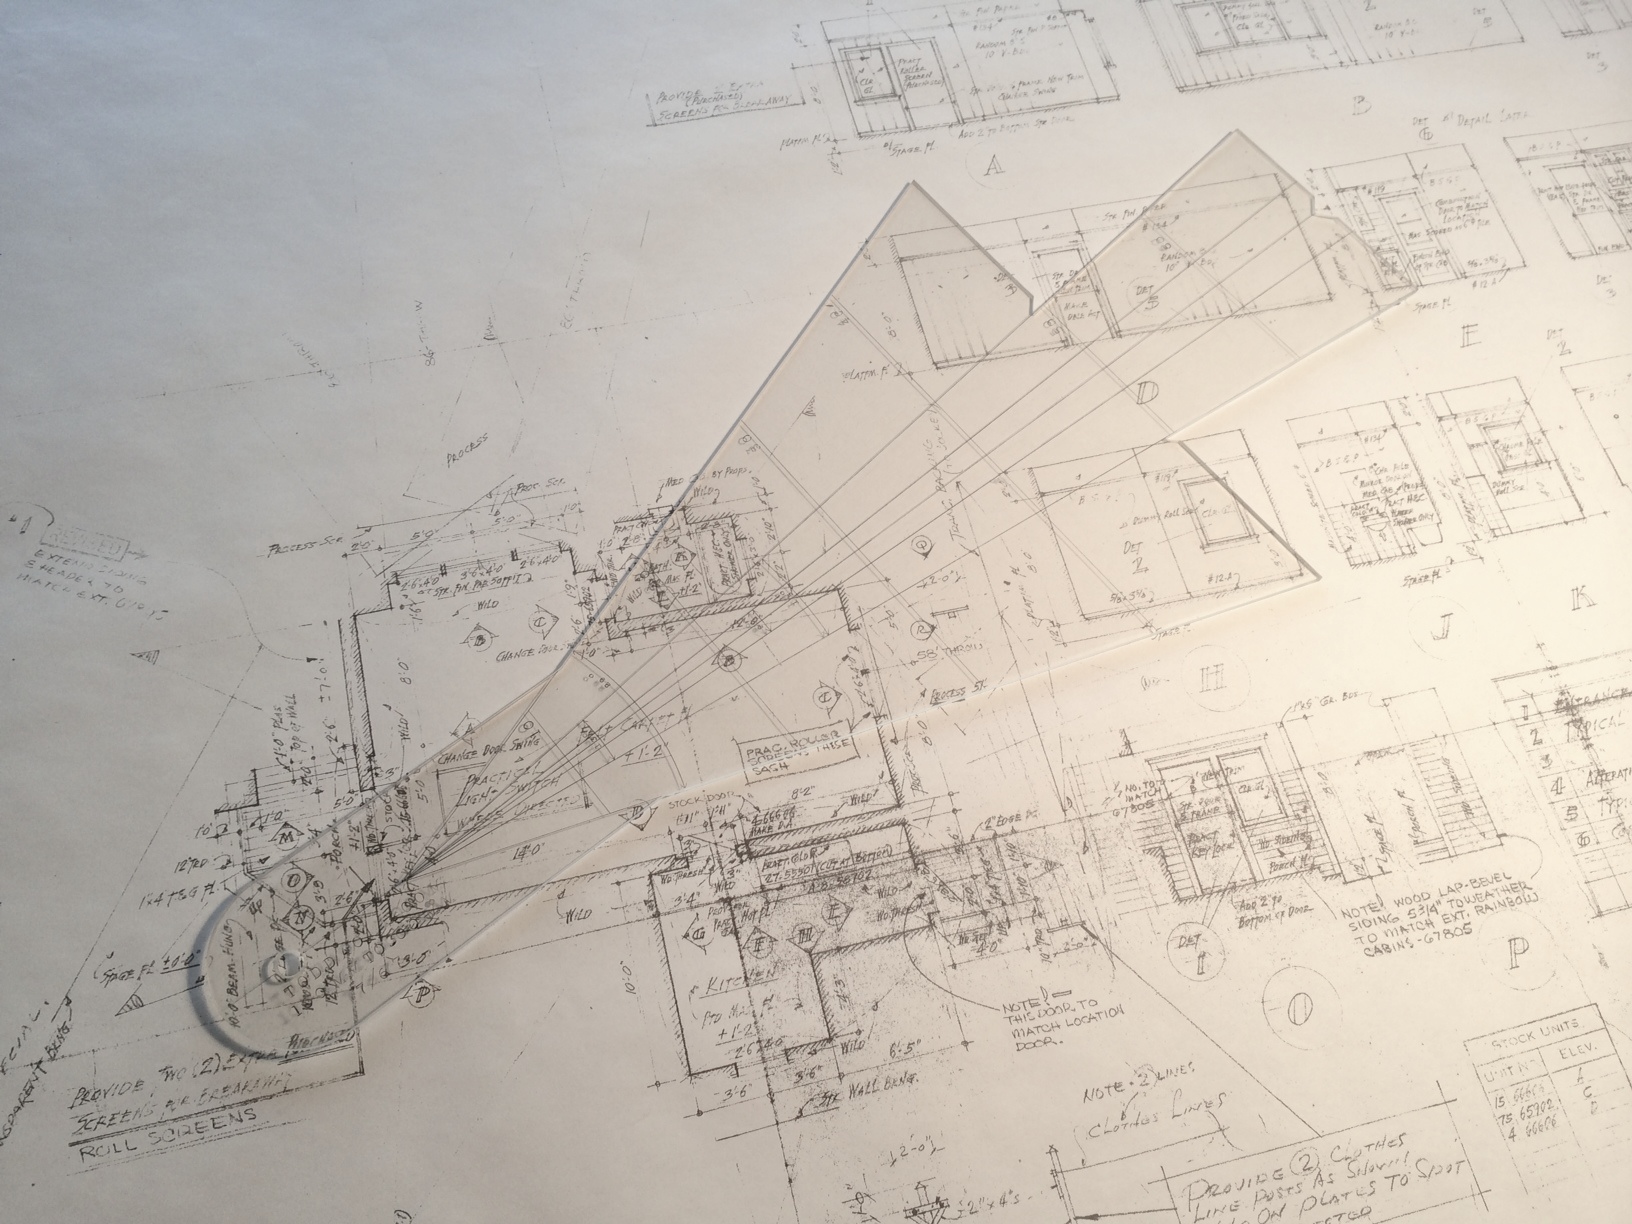
Some of my collection of traditional studio lens angle templates. The ones on the left are for long lenses while the ones on the right are wide-angle lens. The third from the left is a zoom lens template.
Pre-vis Before Previs
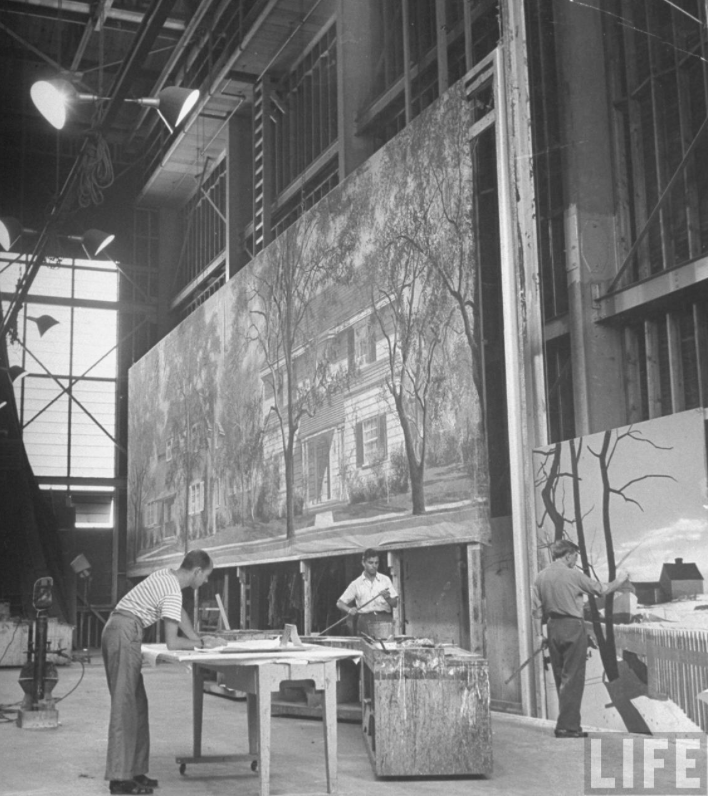
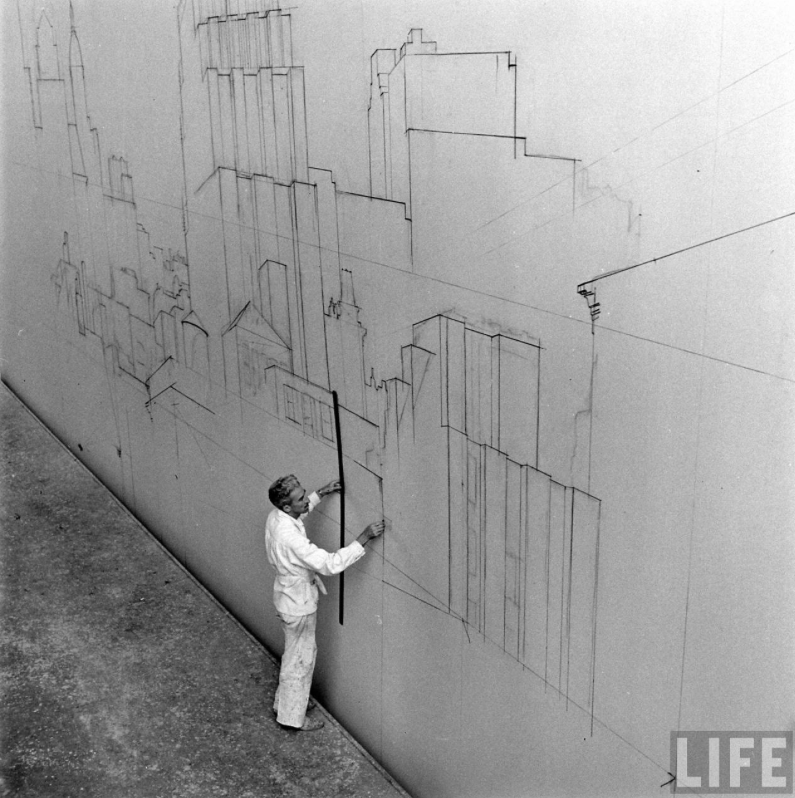
Before the term “Pre-visualization” ever existed, there was the lens angle template. These were a staple of any Hollywood studio Art Department and were used when laying out a set to determine camera angles, backing sizes needed, rear projection screens and planning back-projected set illustrations for the producer and director to approve sets long before there were 3D computer programs.
There was a time when a basic knowledge of optics and lenses was considered mandatory and was necessary not only because the Art Director would design the sets to be shot in a specific way but this information was needed when designing effects shots such as forced perspective sets, glass shots and the like.
A template for a 100mm to 300mm zoom lens in the Todd AO format. Todd AO was an early 70mm film format with an aspect ratio of 2.20.
The templates were for a single lens, usually a prime lens, and were made using 1/8″ or 1/4″ thick plexiglas. The projection lines were scratched or engraved into the acrylic, sometimes by a Set Designer but other times they were made by the studio sign shop. Some of my examples are obviously done with a hand held engraving tool while others have been done with a lettering template and have inked letters.
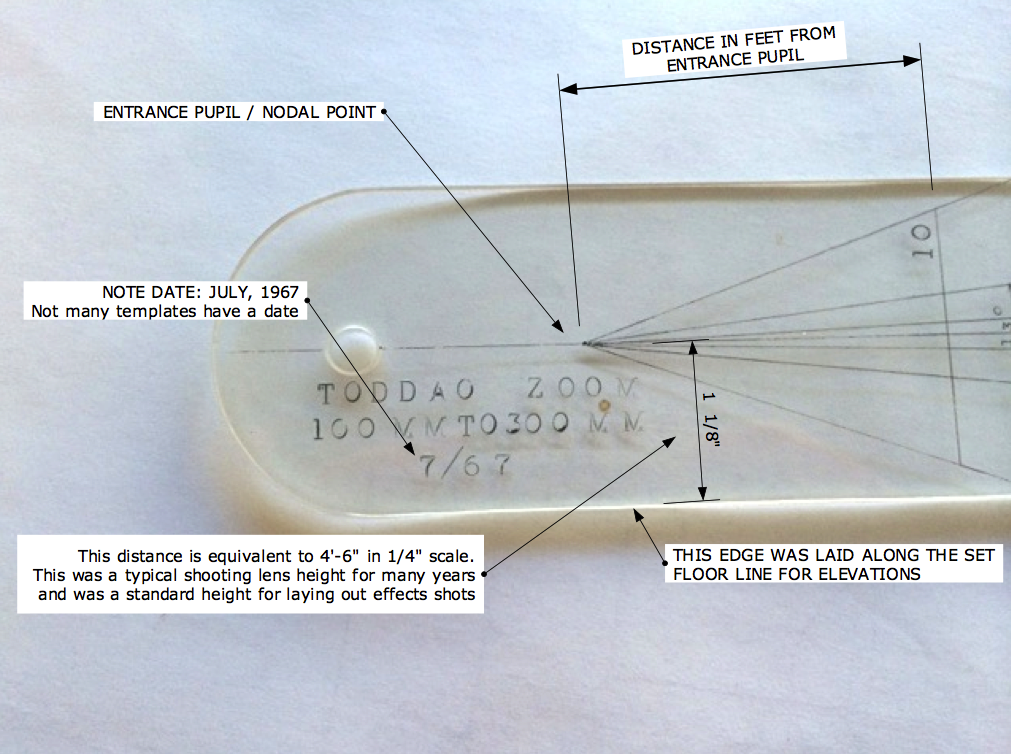
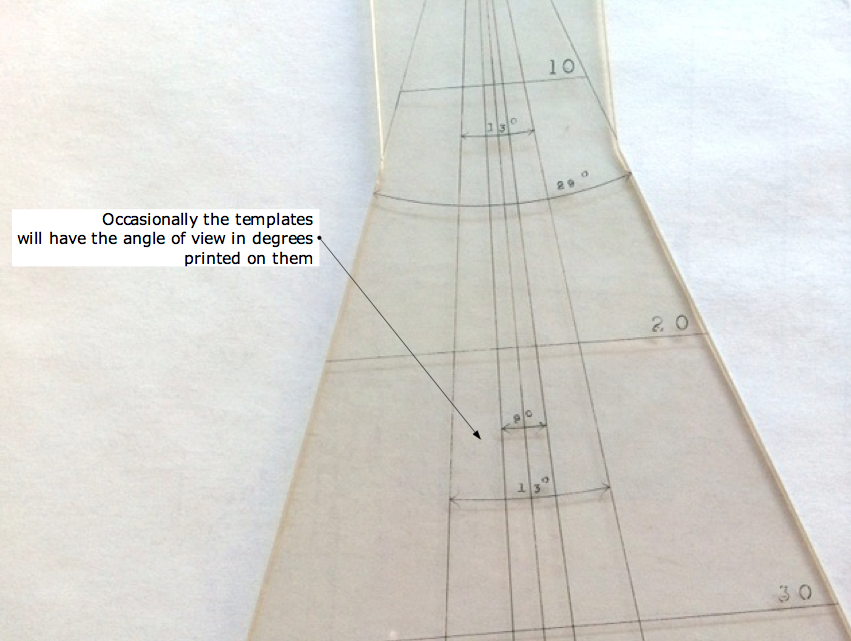
Each template had two sets of projection lines, one set for the horizontal plane (for use with a plan view) and another for the vertical plane, for use with scale room elevations. Most are made for use with 1/4″ scale drawings but they are accurate for any orthographic drawing because the angle is unaffected by the scale. Most will have markings to note the distances from the lens entrance pupil in 1/4″ scale.
The “Quick View”
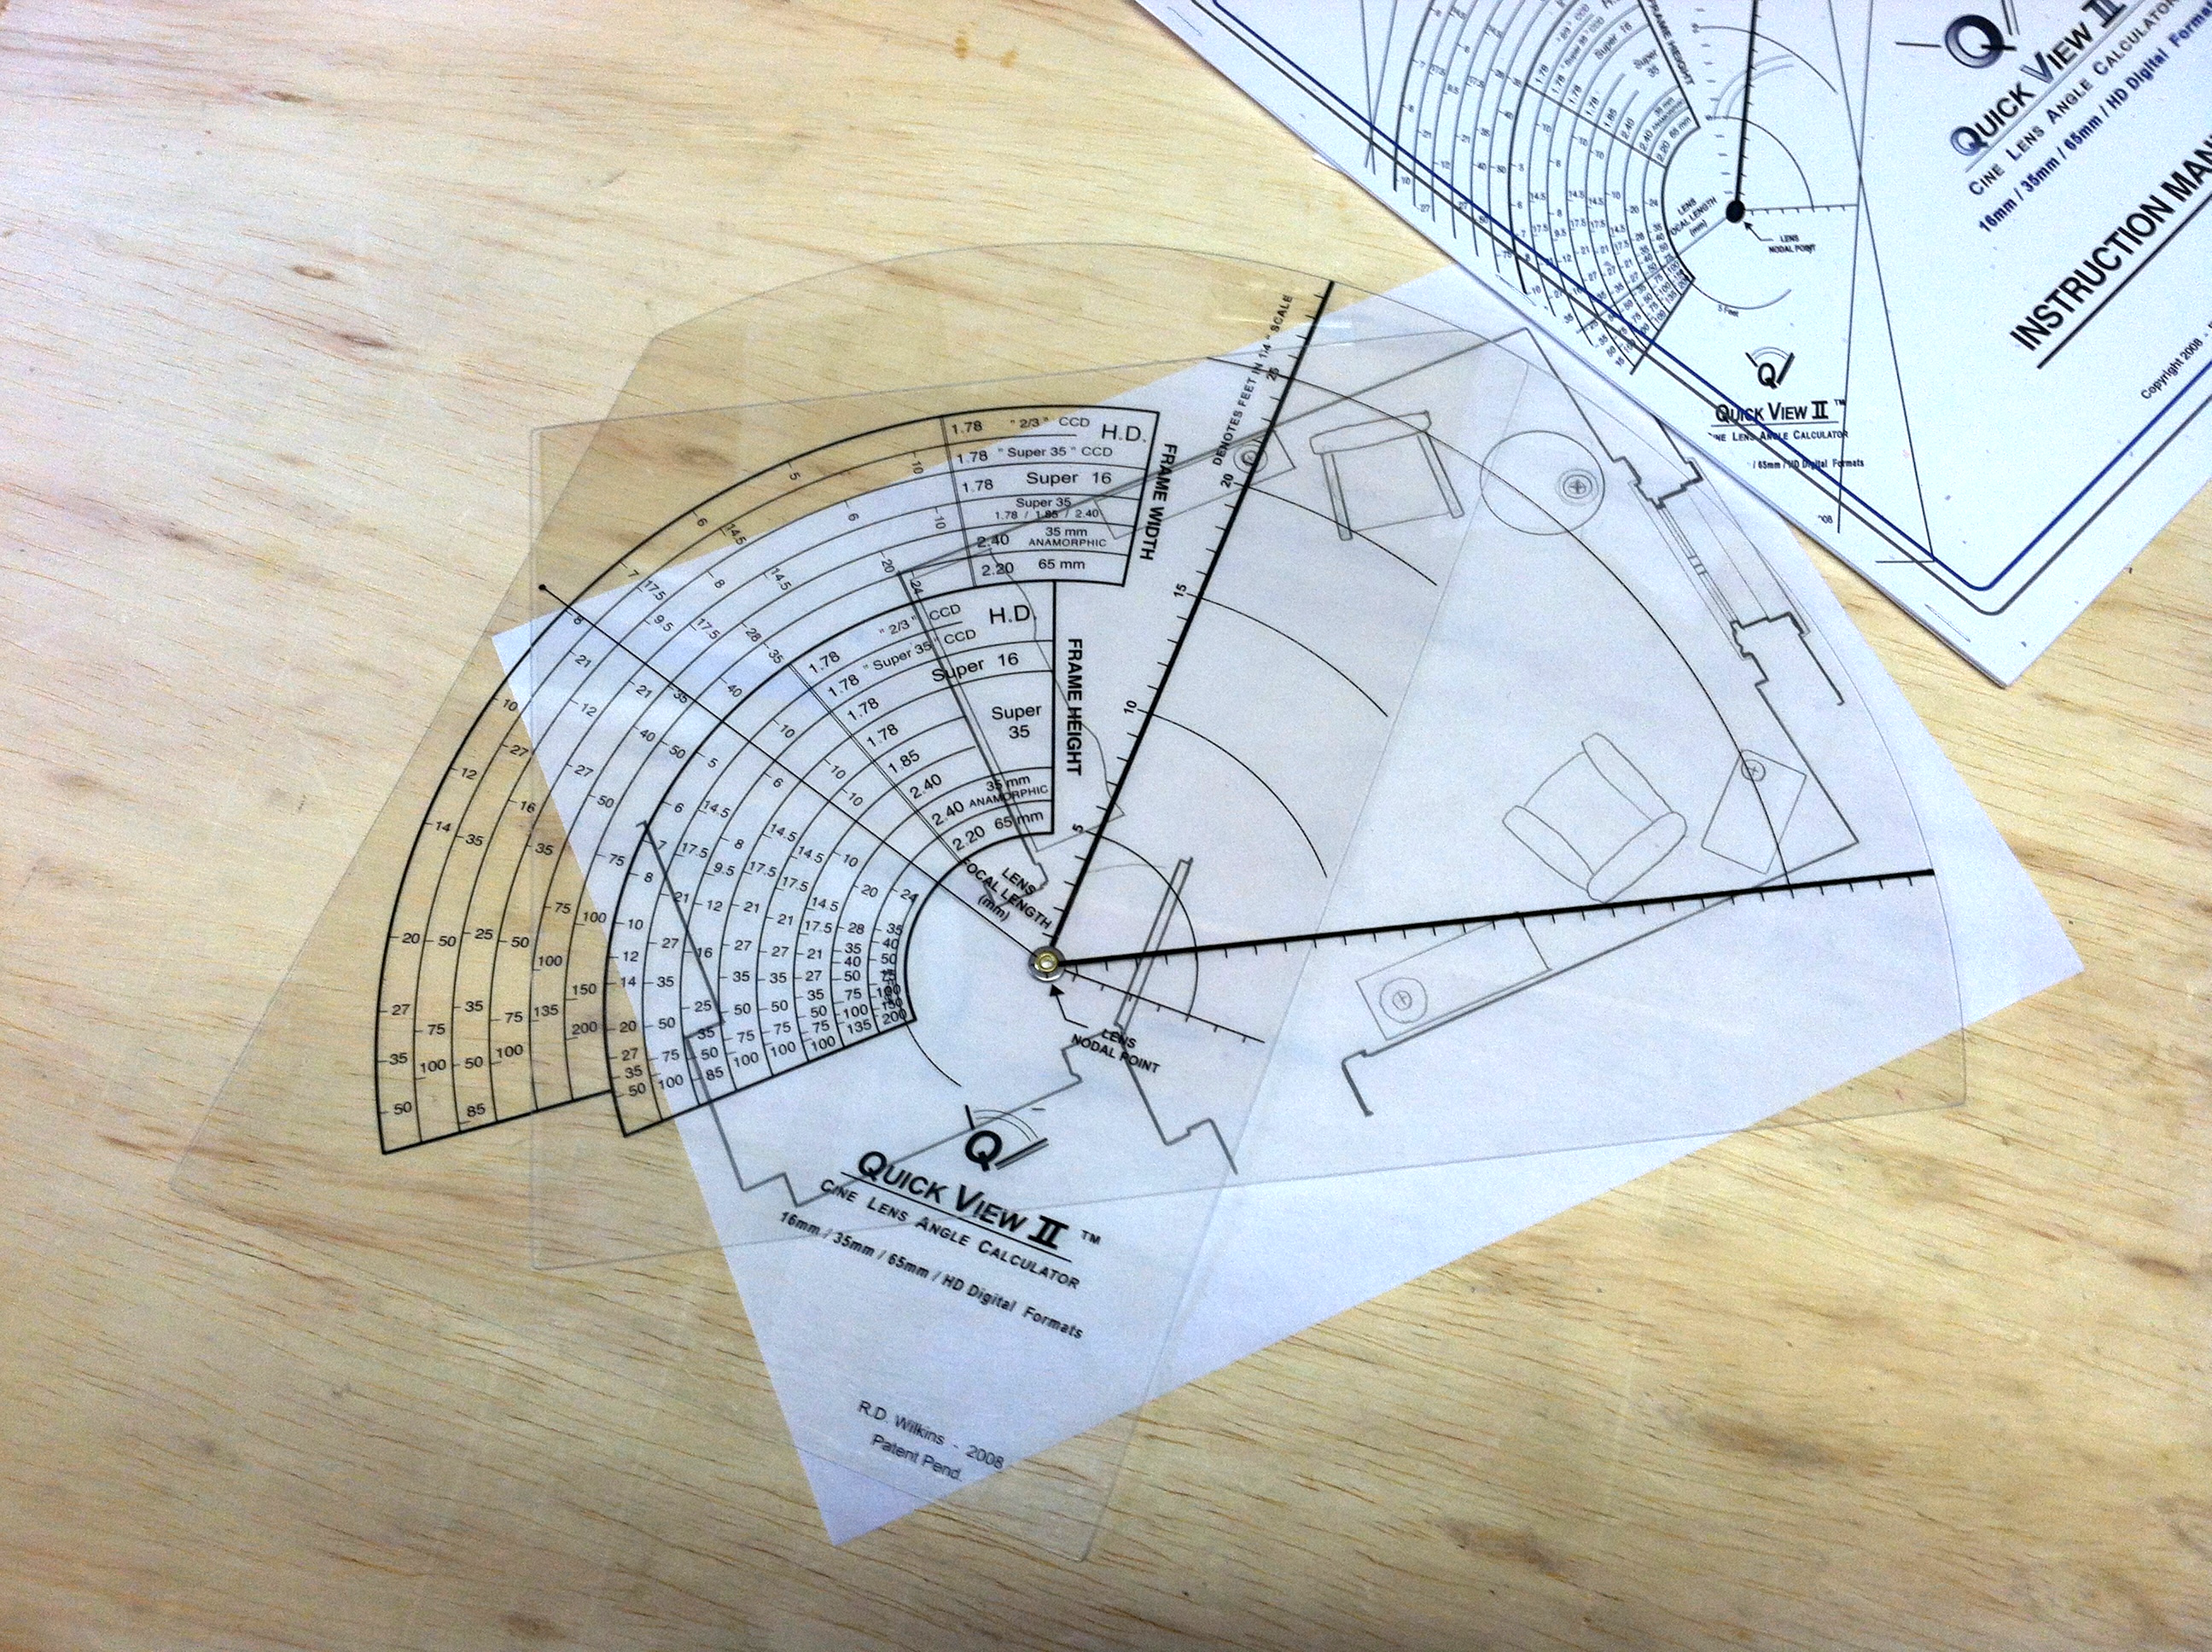
By the 1990’s, there were so many different formats and lens combinations most of us in the Art Department in Hollywood carried thick manila envelopes of acetates of the various focal lengths, but I always seemed to be missing one that I needed and I found some were inaccurate from being cloned so many times. In 1998 I designed a device that had all the available formats and prime lenses so you could just dial up the one you needed. I redesigned it in 2008 to include the digital formats but sold out of them a year ago.
I stopped having them made since they were expensive but hated to see them become obsolete since they are still so useful. For a director, they are the perfect way to see if a shot is possible at a location or see the limitations of a particular lens on a set when you can’t rely on wild walls.
Making A Quick View
Yours won’t be on Lexan like the originals were but will be sturdy enough plus cheap enough to replace if it’s damaged or lost. Download the files below and take them to your nearest copy center and have both the dial and the nomen printed on clear acetate. They don’t have to be printed at exactly 100% but they should be at the same scale to each other. Then you just line up the center marks and use a compass point or push pin to pierce the centers, creating a pivot point in place of the brass rivet as in the photo above.
The diagrams from the original instruction manual will explain how to use them. You’ll note that I’ve added a feature that wasn’t on the originals, a protractor which will tell you the angle of a selected lens.