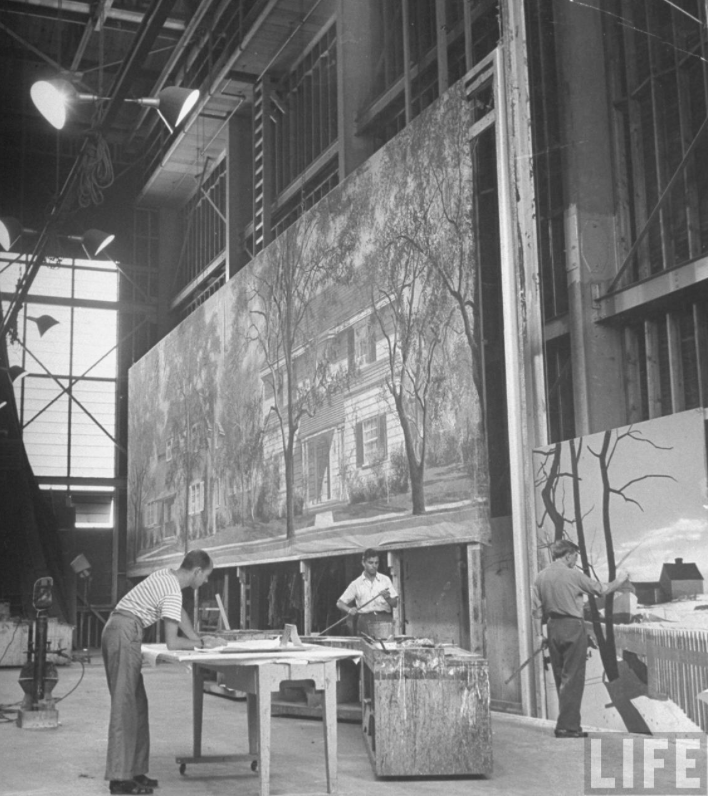
Beware. This is what happens when you give a set designer a crappy holiday gift. source: Awkwardfamilyphotos.com
So, it’s just 12 days until Hanukkah and 13 until Christmas and you still haven’t gotten that special set designer in your life a gift. You could just give up in defeat and buy them that same aged cheddar cheese sampler you got them last year, ( which they carefully hid underneath your car seat and is the reason it smells like mold inside ) or you can get them something decent like one of the the items on the list below. At this point you’re probably going to have to resort to hideously expensive 2nd day air shipping, but who’s fault is that??
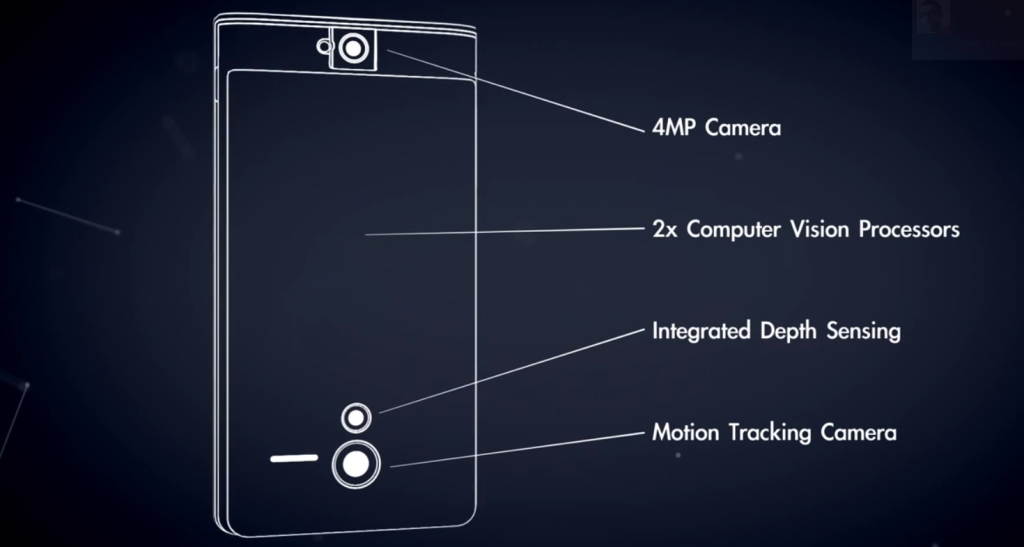
Best Value – Spike GPS device for smartphones and tablets – $299

The Spike GPS device for smartphones and tablets
That may sound like a lot of money but that’s 50% off the introductory price of $619. I got one of these during their Kickstarter program in 2013 and have been thrilled with it. This device does everything my $500 Bushnell rangefinder does and a lot more. Take a photo of a building up to 200 meters away and then take measurements off the screen, even after you’re back at the office, even weeks later. Easily get accurate heights, door and window sizes, measure billboards, estimate square footage. You can instantly send the photo to someone else with the measurements, GPS coordinates and square footage. Soon to come are the capability to turn your shots into a Sketchup model and point cloud scanning of irregular shapes. For iOS and Android devices.
This offer is only good until December 23 with the offer code FRIENDSOFIKE14.
By Hand & Eye – $16.00
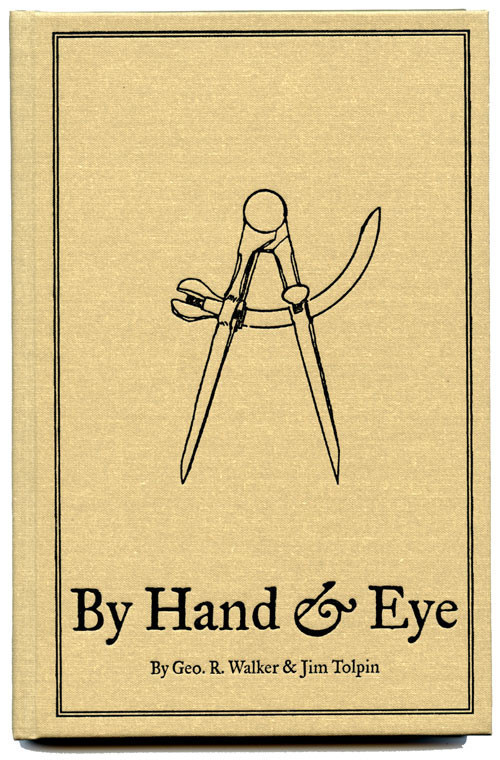
Another gem from Lost Art Press, this is probably one of the best design books written in the last 100 years. It outlines the world of design without a rule and using only dividers and proportional methods. I covered this in a previous post and always recommend it. It’s so popular that it’s currently out of print and only a digital version is available. Buy them this and a good pair of second hand dividers from Ebay and you will completely change the way they think about design.
Drafting Apron – $25.95

Harkens back to the days of graphite dust, arm protectors and a time when you didn’t have to worry about hours of work disappearing from a computer failure. Hide a box of Tombow pencils in the pocket and watch them weep with joy.
WE Wood Watches – $75 to $150
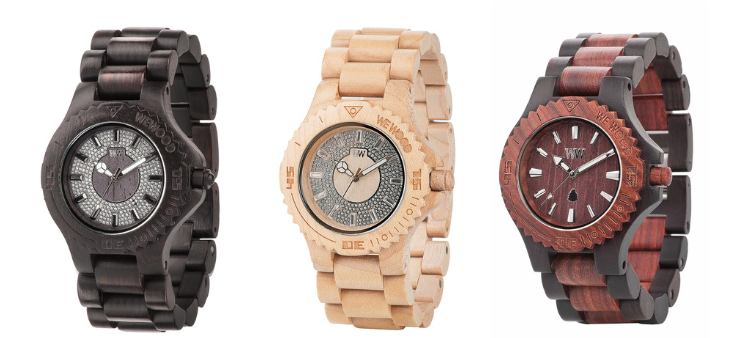
WE Wood watches are beautiful analogue timepieces made from a number of hardwoods and use precision movements. Each one is absolutely unique due to it’s wood case.They’ll have something nice to look at while they’re waiting for their render to finish or that endless production meeting to come to an end.
FastCap ProCarpenter Lefty/Righty Tape Measure – $8.99
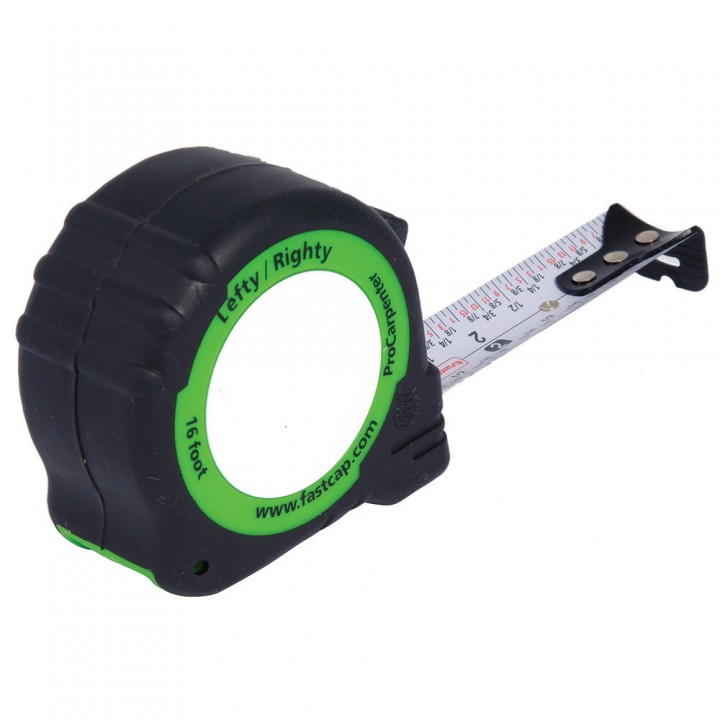
Most measuring mistakes that occur while doing a survey come from misreading numbers upside down when you’re measuring from right to left. This tape solves that problem by having the numbers read correctly no matter which way you hold it. The same company also makes the Flatback tape which works like a flexible story pole, making it possible to easily measure round objects. You need this.
Magna Tip – $2.49
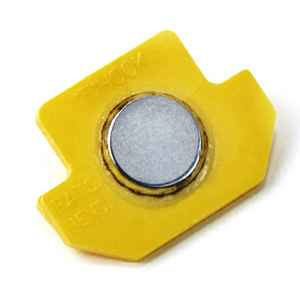
This little guy will save you when you’re surveying alone and have a metal surface to stick it to. It attaches to the end of most 1″ wide tape measure and becomes a third hand. Especially good if you’re trying to measure something overhead. A great stocking stuffer.
Tape Tip – $4.95
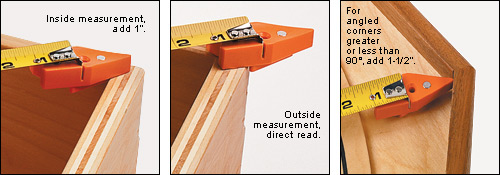
Another little device that’s a lifesaver when you’re trying to measure inside corners. Attaches to the ends of most tapes. Inexpensive enough you can buy one for your whole art department.
GripTip – $3.00 for two
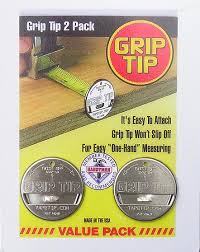
OK, you’re saying, enough with the survey stuff. But this little gadget will save you someday when you’re trying to measure that stone or brick wall and the end of your tape keeps slipping off. The serrated edge will bite into just about anything and stop the cursing fast! At $3.00 for two, you can afford to have several in your kit.
Smartphone Projector – $27

For the gadget lover, this is a low-tech projector option that works with palm-size smart phones, not the phablets. Made from cardboard, the device works with simple lens physics as the image and light from the phone is projected by way of a convex lens onto any white surface up to 6 feet away. You’ll need a dark room though, it won’t work in a brightly lit space. A great way to share when you don’t happen to have a 27″ monitor in your bag.
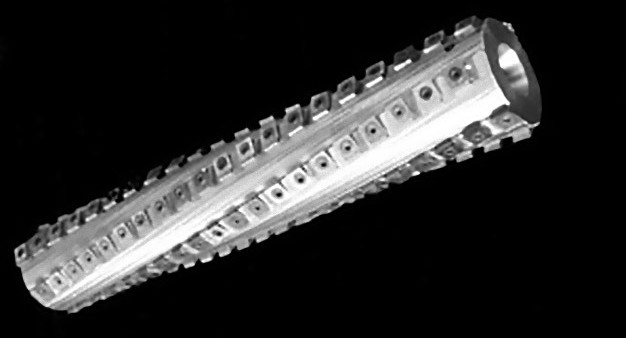
Geometrigraph – $14.95

First manufactured in the late 1800s, these two stainless-steel templates were designed to make it possible to create curved, parallel or perpendicular lines as well as circles, angles and a range of polygons from 3-sided to 20-sided. By using the inset shapes of various curvatures with the circles and polygons, you can create an unlimited variety of ornamental designs. All this can be done without using any other drawing instruments; all that is needed is paper, a pin, and a sharp pencil or fine-tip ballpoint pen. Two nickel-plated steel T-head anchor pins are included. The templates are suitable for designers of inlay in wood, graphic artists, quilters, sign-makers, innovative youngsters, etc. The set comes with a 16-page instruction booklet explaining the various uses as well as showing numerous examples of typical designs. Remember the Spirograph? Well this is it’s Granddad.
Tape Measure Uniform – $42.00
For those times when you need to stand out and let people know there’s a Art Department professional on the job. Or, more likely what it will be saying about you is, “Yes, I am a proud member of the Art Department and I have gone completely insane from breathing Spray77 and Zip Kicker fumes, living on stale coffee, doing endless revisions and dealing with constant software issues. So just stay away from me and no one will get hurt.”
Really, Really Last Minute Gifts
When you realize you’ve really screwed up and forgotten someone and have no time to run to the store, much less order anything, you can always gift a good app.
Log onto the Apple or Android store and gift your so-important-you-forgot-about-them friend one of these apps and your reputation will be saved:
I own and can recommend all these apps.
BuildCalc – construction calculator – $19.99
Magic Plan – indoor mapping, survey tool – free, pay per use
Photo Measures – saving and sharing measurements – $6.99
Artemis – professional director’s finder – $29.99 *
pCAM – camera info calculator – $29.95 *
Sun Surveyor – sun and moon calculator – $6.99
Stereo Calc – 3D stereo film calculator – $39.99 *
Moviola Pro Camera Guide – extensive database of camera info – $3.99 *
I.D. Wood – samples and data for 200 kinds of wood – $4.99
* iOS versions only